Next Gabriel Fabra will explain to us how he developed his interior design project “Scandinavian Apartment”. In this post we will learn his work methodology, very focused on attention to details, developing assets exclusively for the scene that give it a very realistic and exclusive appearance.
Thank you very much Gabriel for this interesting contribution to the community!
INTRODUCTION
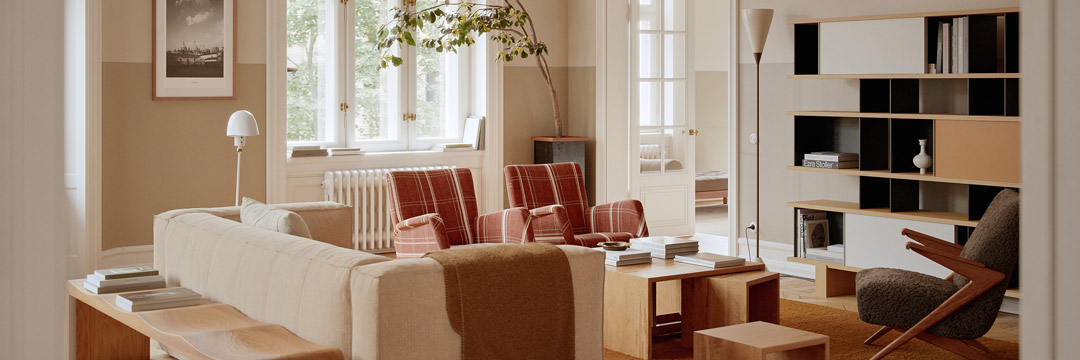
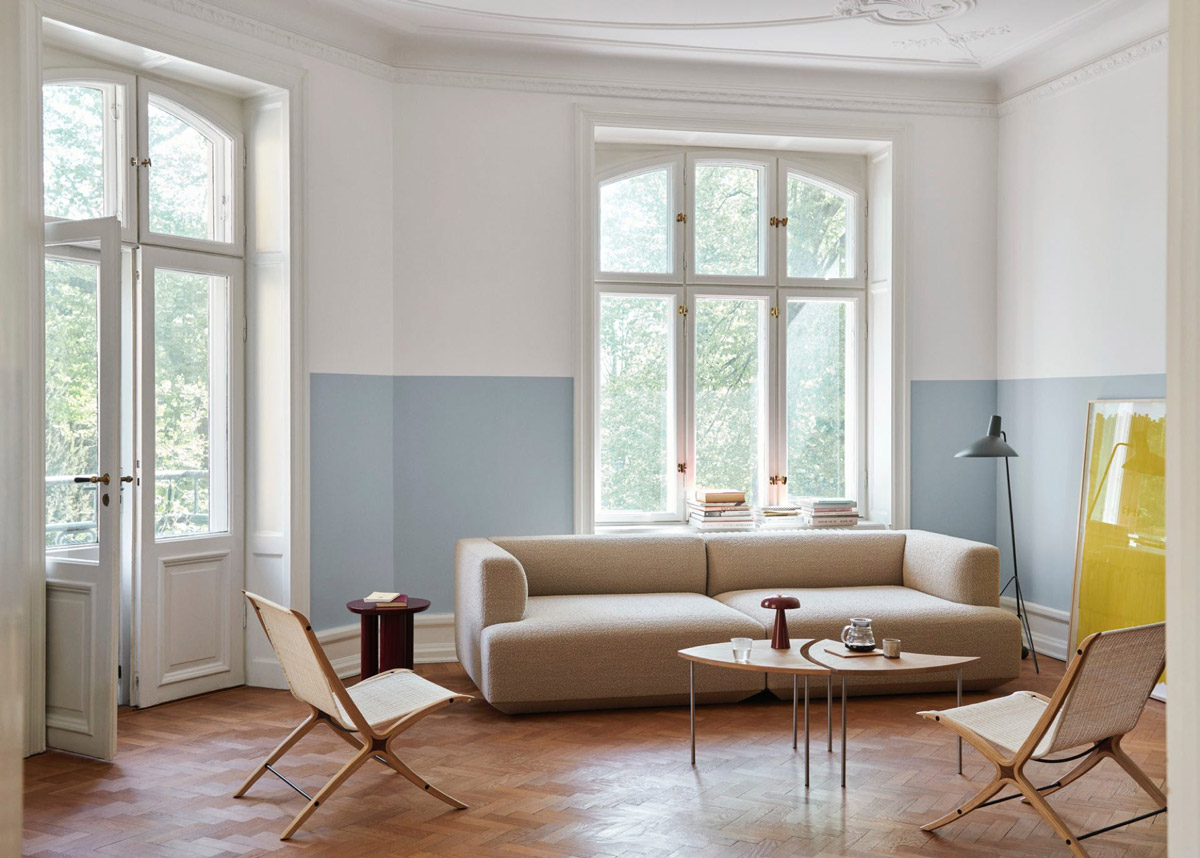
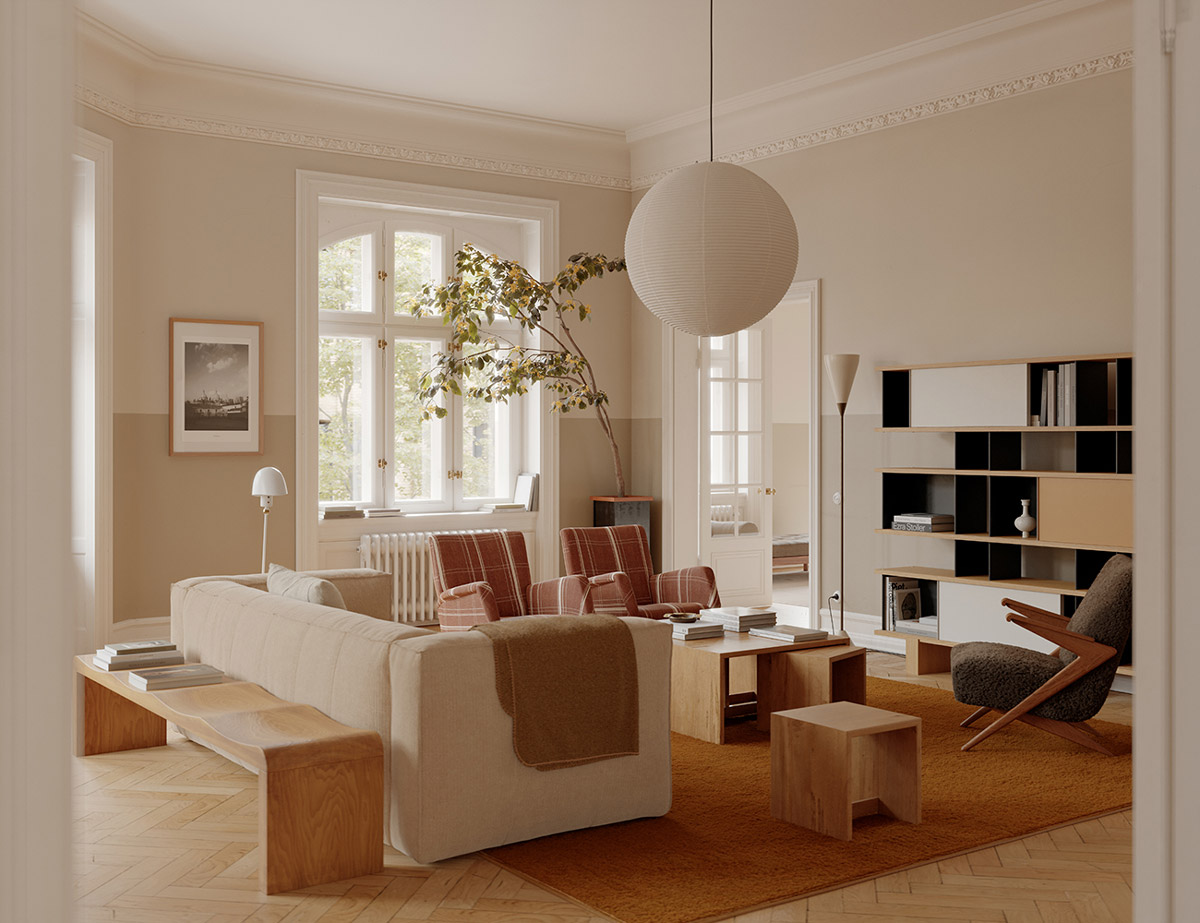
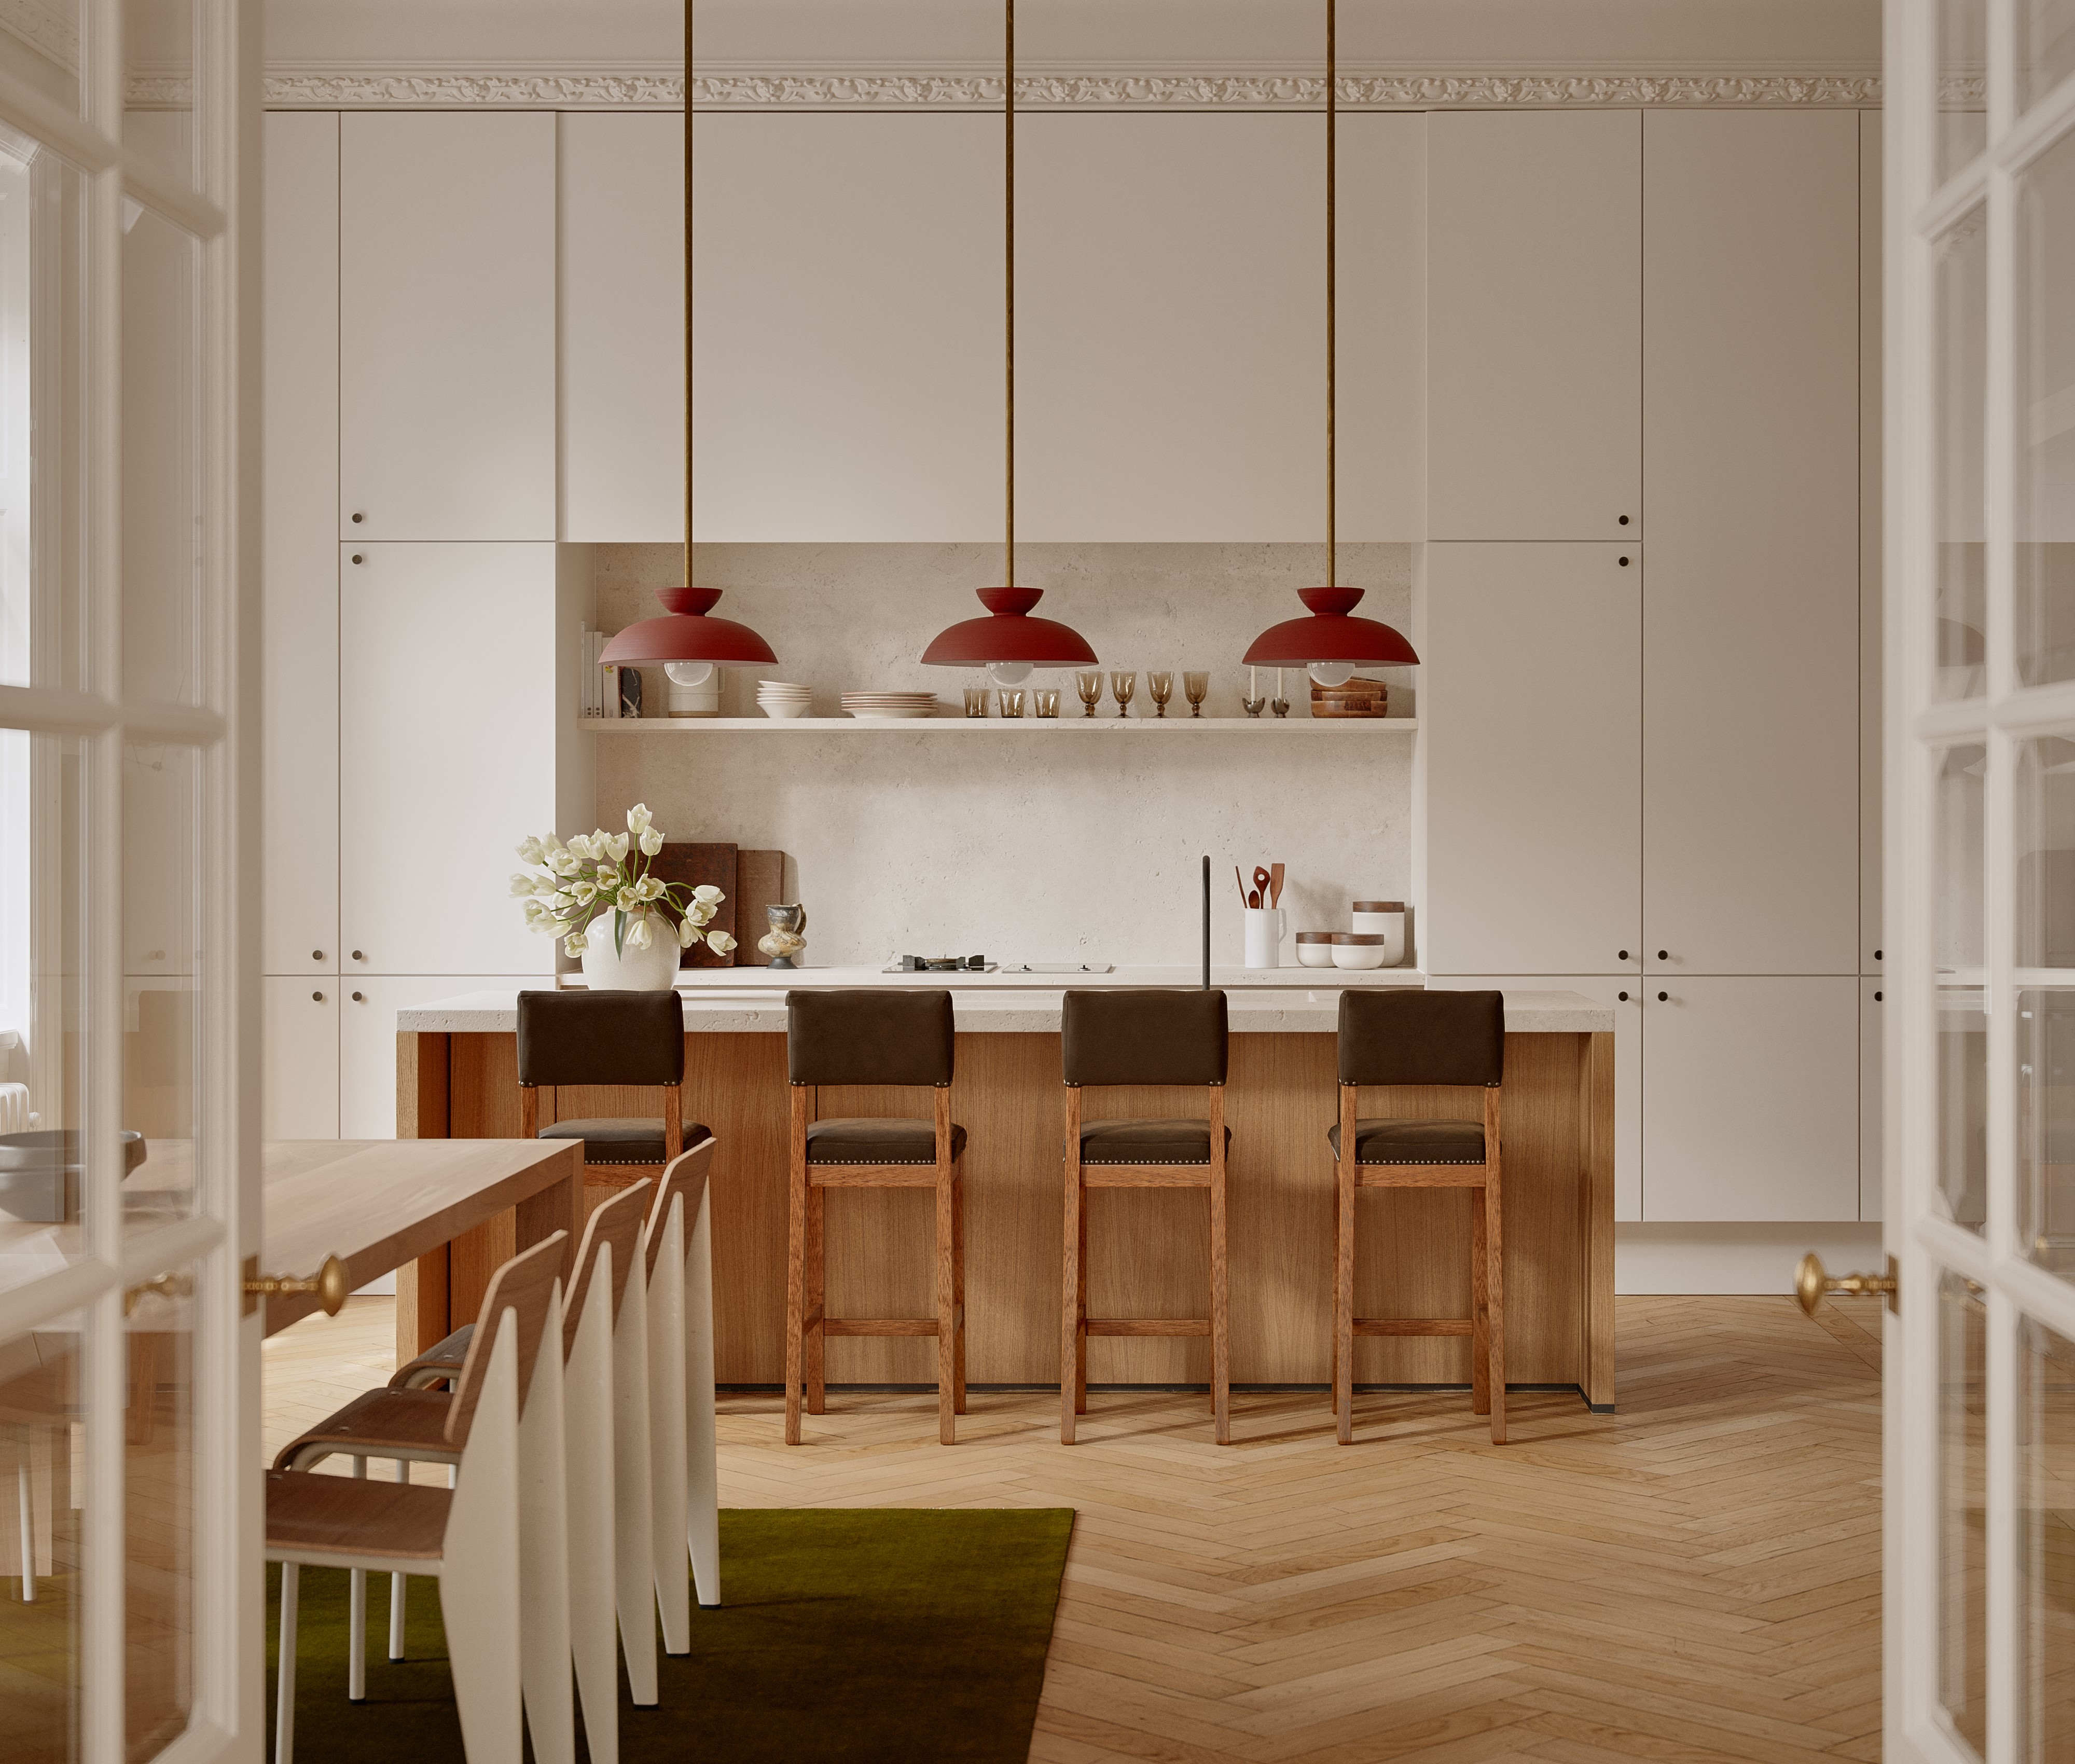
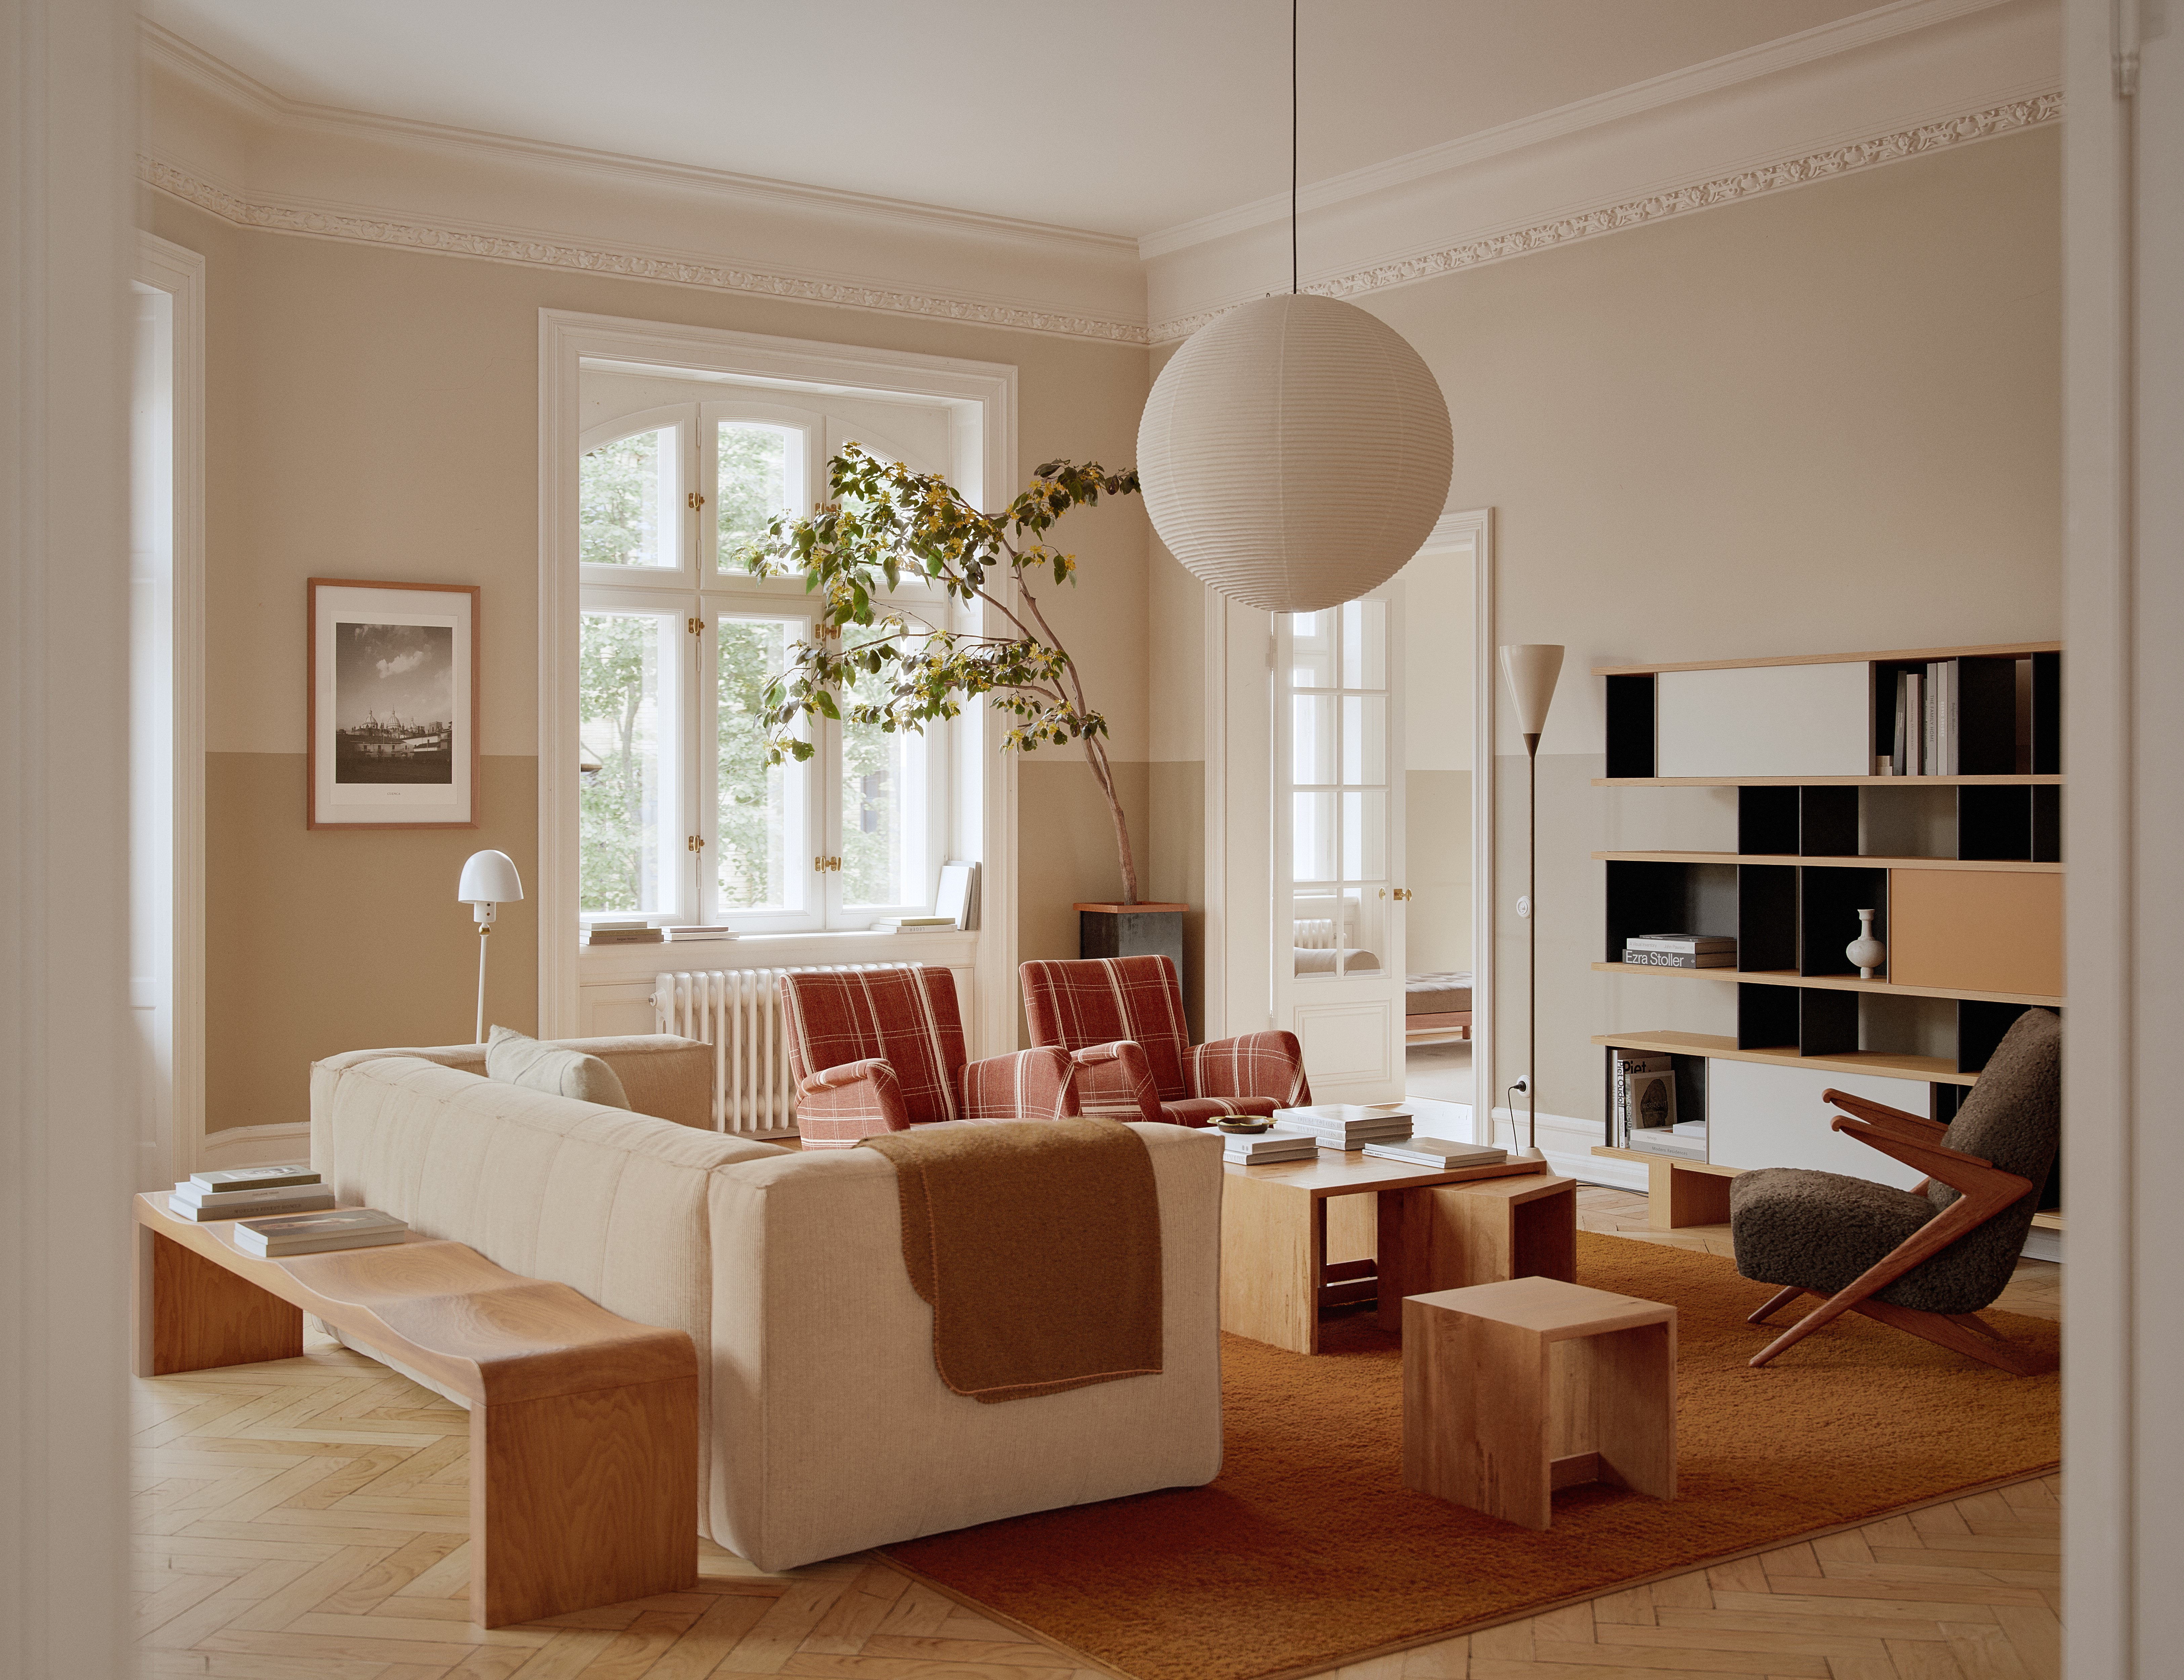
The project was based on a previous commercial project carried out in our studio. The space presented a certain complexity due to its trapezoidal shape, which generated several challenges in terms of its interior distribution. With this foundation, I was interested in facing this challenge with more time and freedom than a commercial project normally allows. And thus see if I could reach a more satisfactory solution.
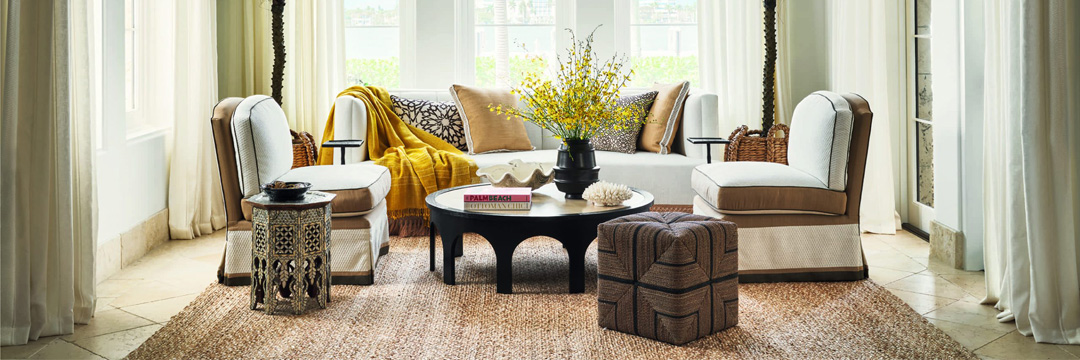
I started looking for references of similar spaces and found one that was quite similar. A showroom of the &Tradition brand. This space served as an excellent reference for generating the different architectural elements.
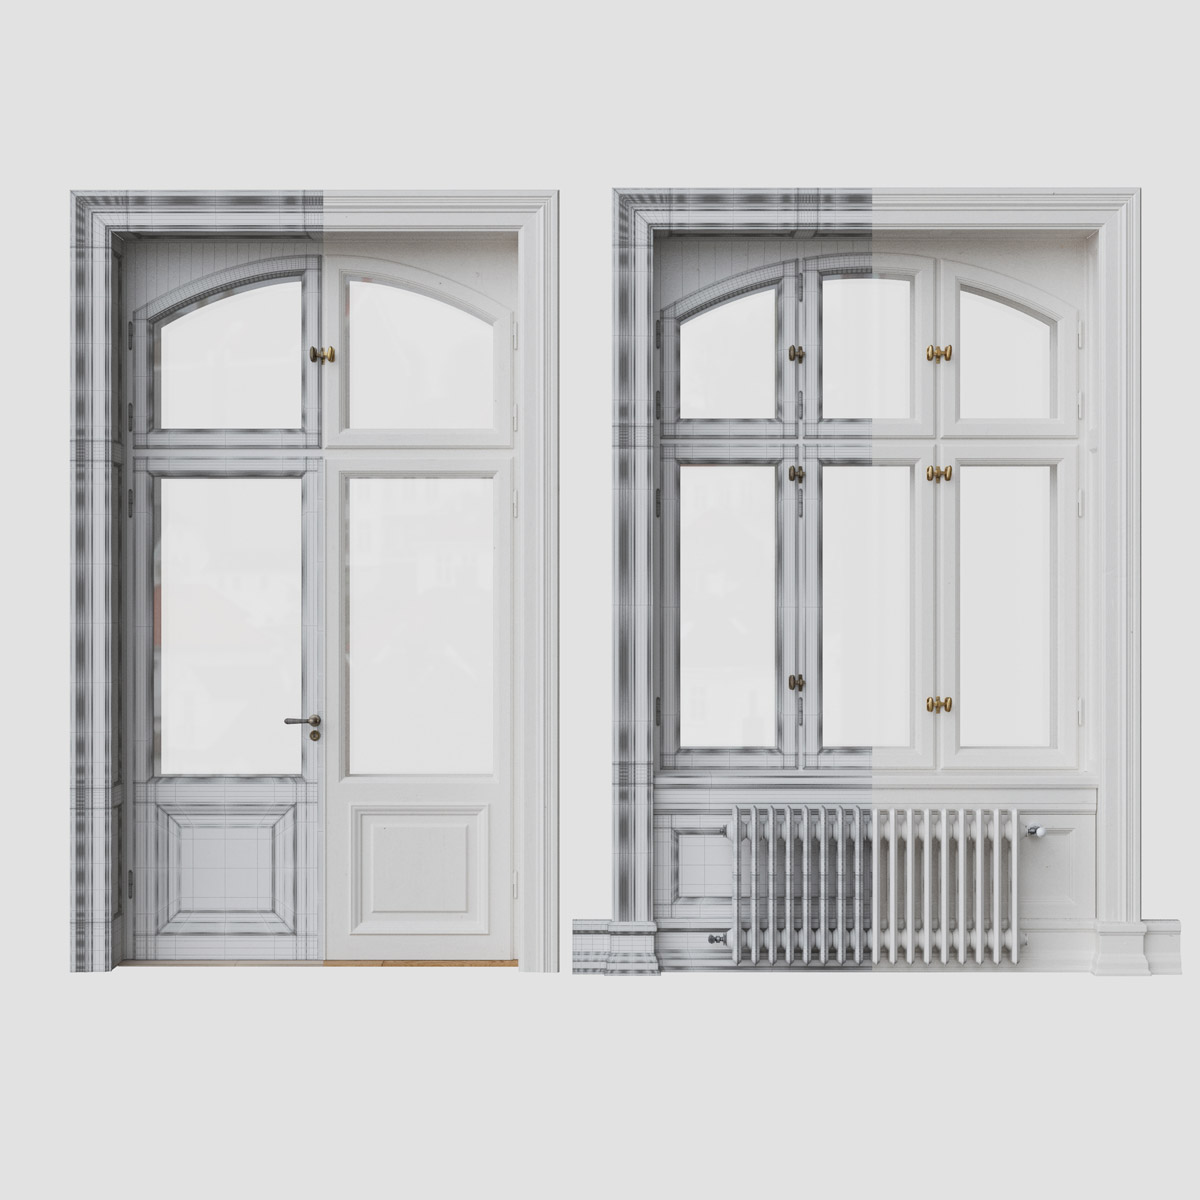
SPACE MODELING
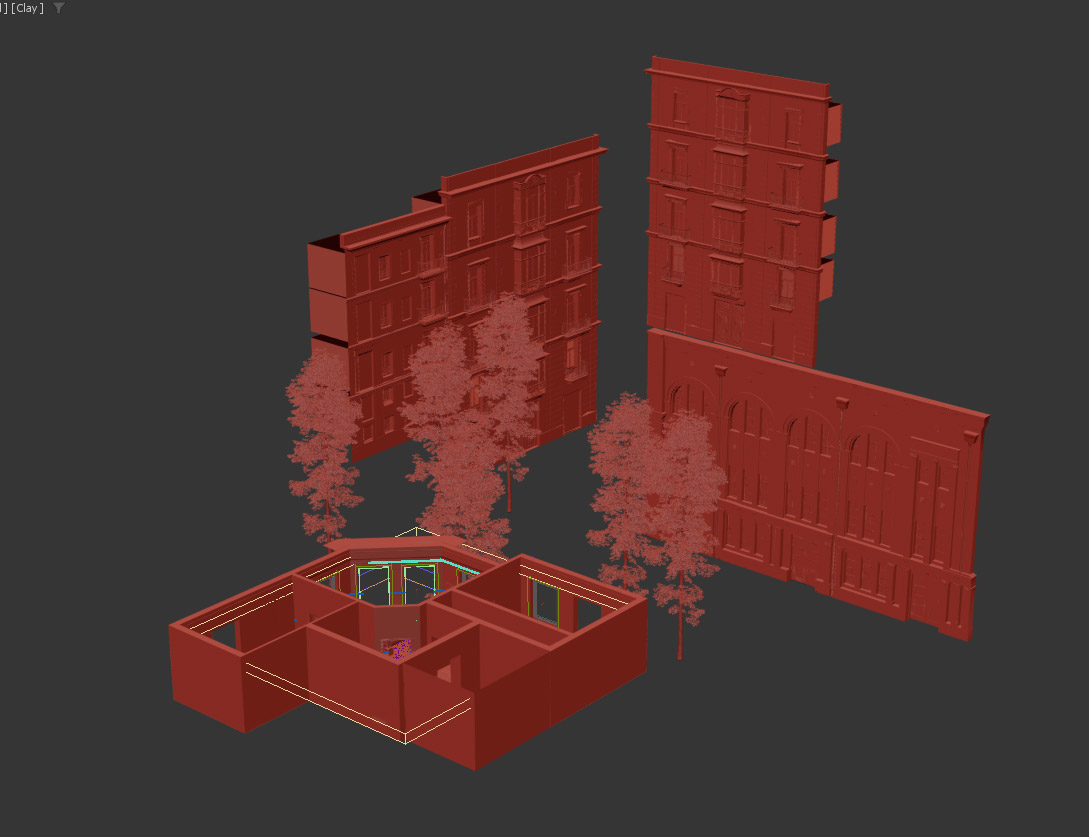
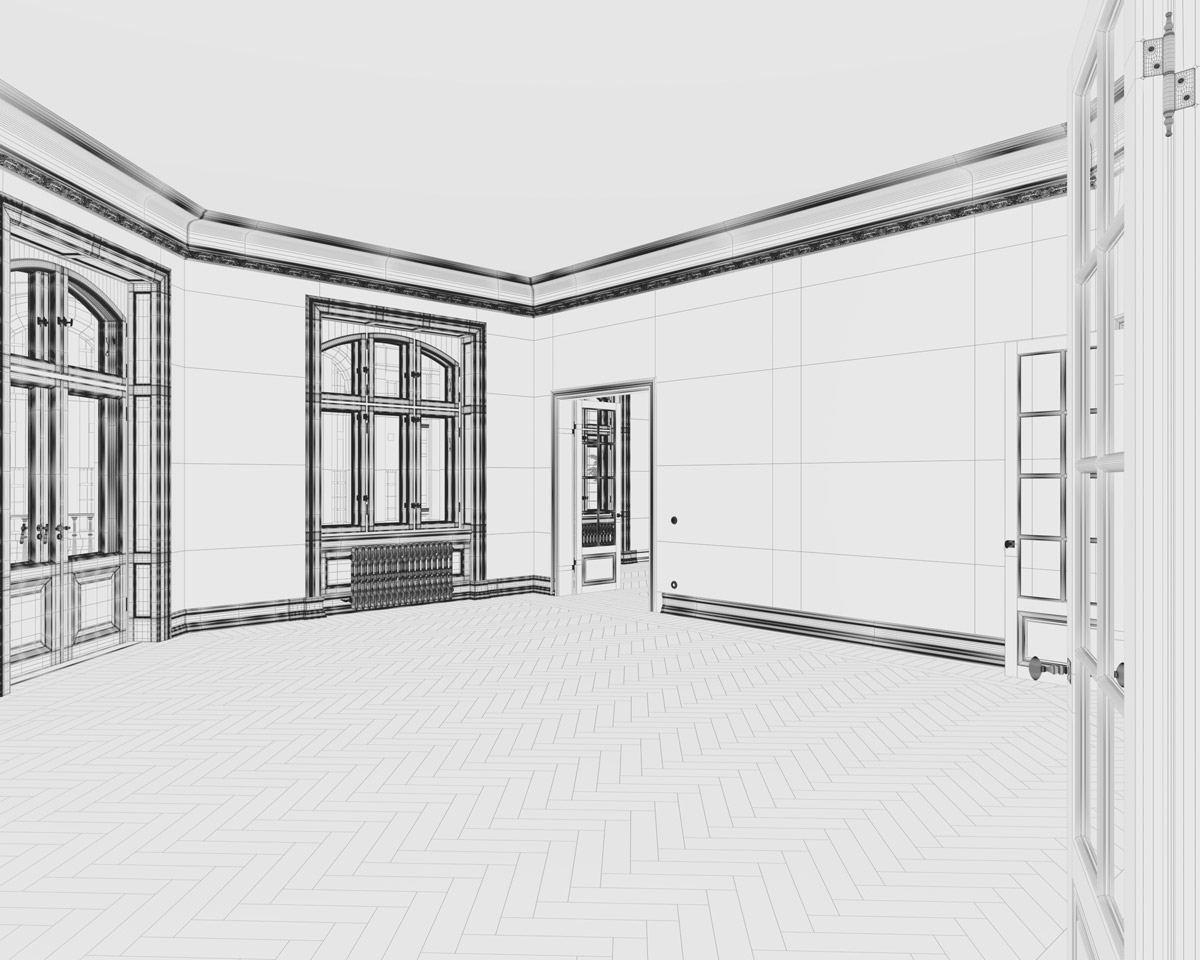
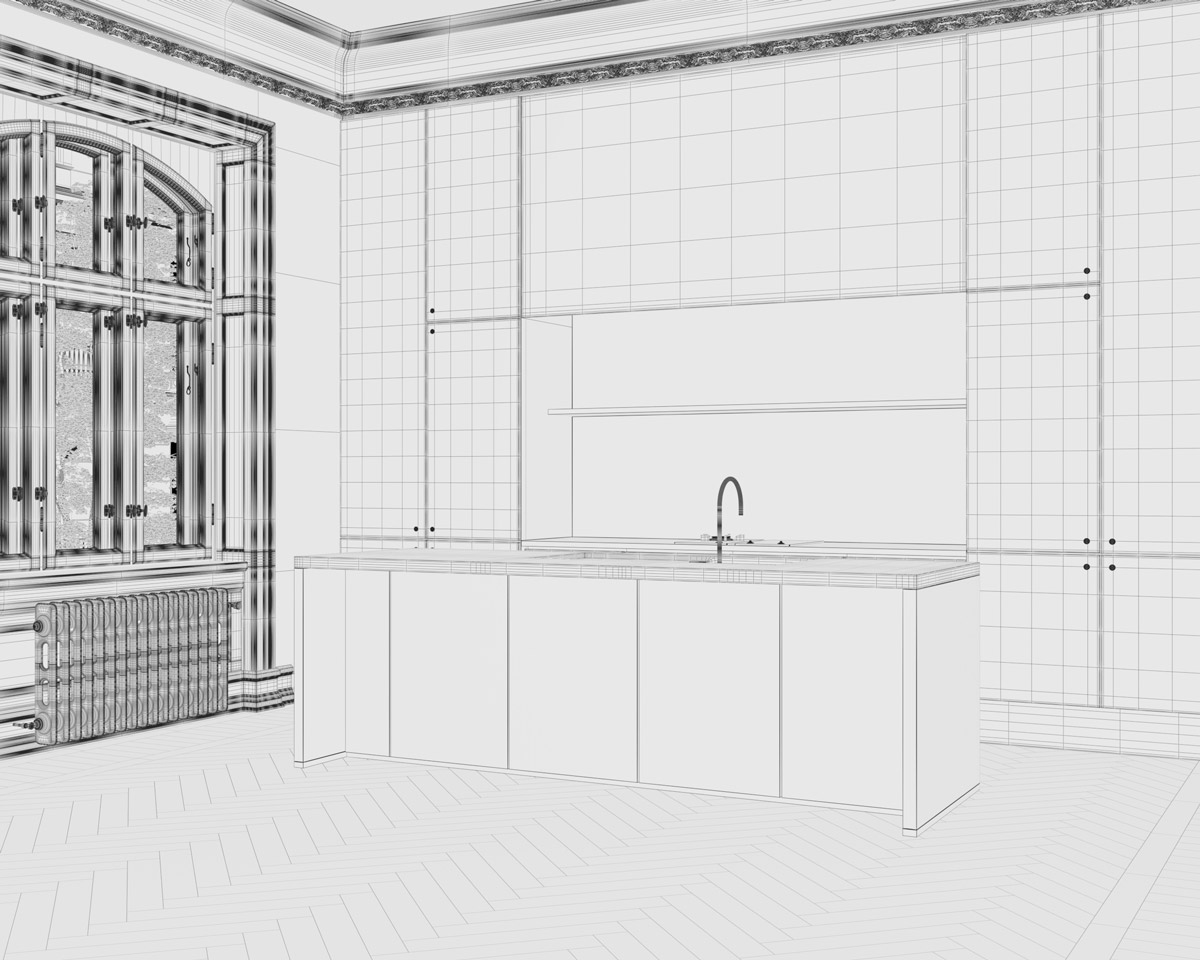
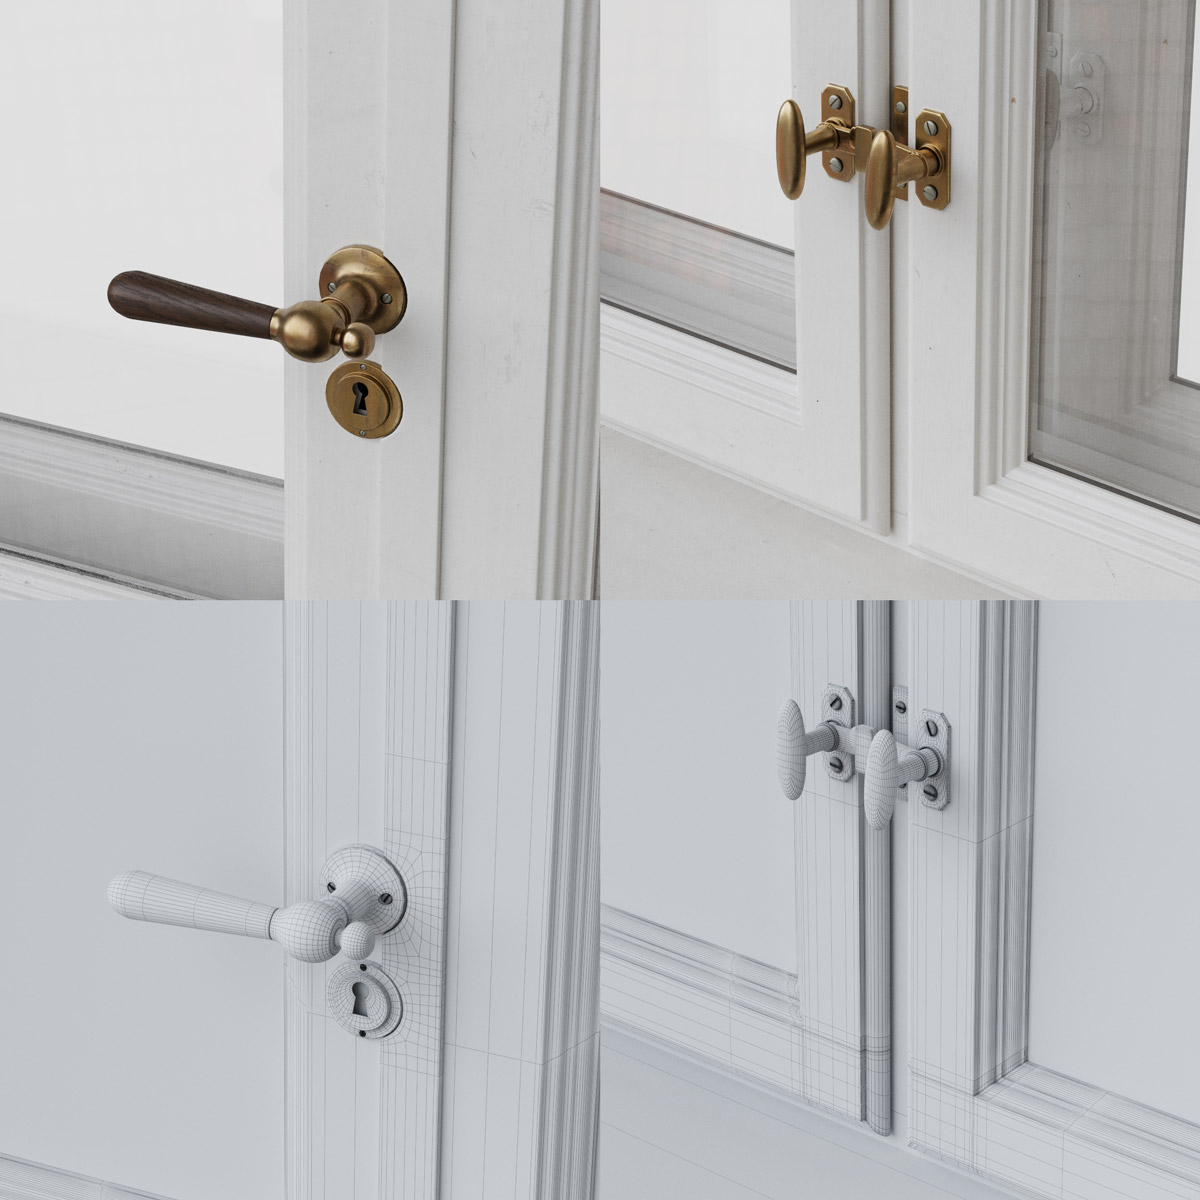
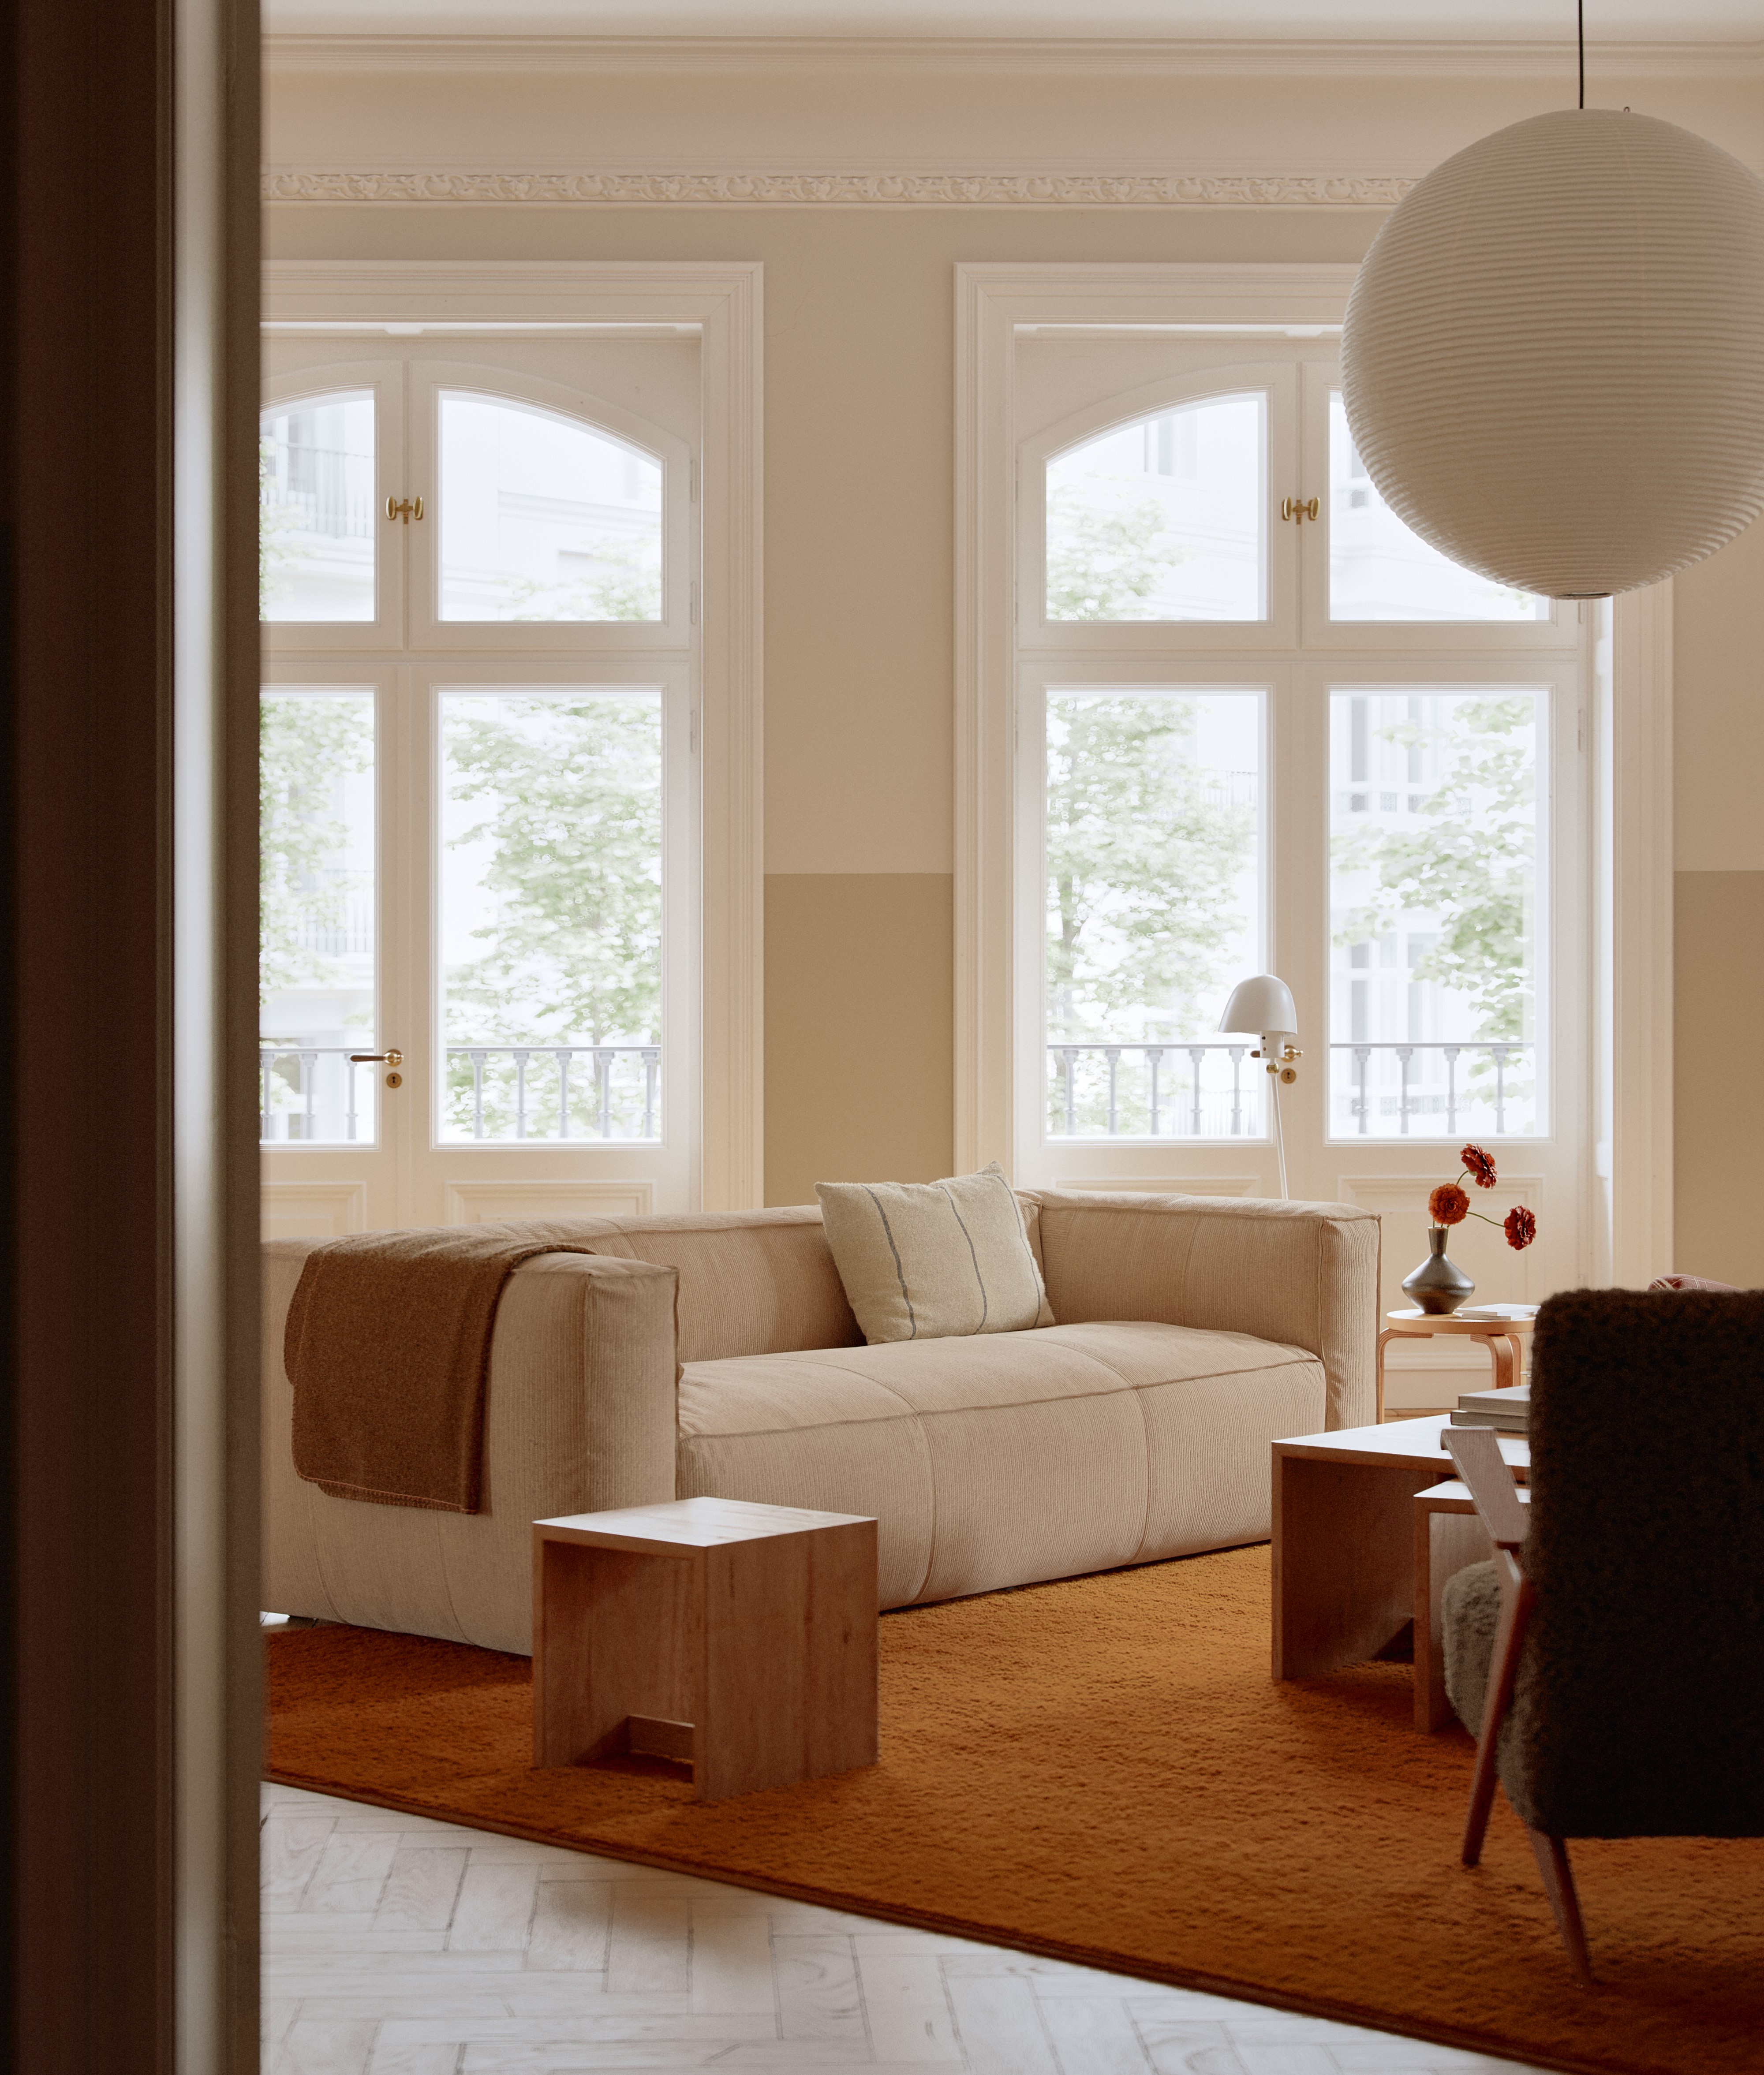
All modeling for the project is done within 3dsmax. Much of the modeling time is dedicated to carpentry. In this case, since it is a classic style interior, it is very important to dedicate time to make a good model and that is what will provide much of the character to the interior. In these elements I like to add as much detail as possible. It is more than likely that it is not necessary but since they are elements present in all the images I prefer to have it rather than later doing some detail and seeing what I am missing.
The environment is simple, but it is also made with geometry. Some simple classic facades and some trees.
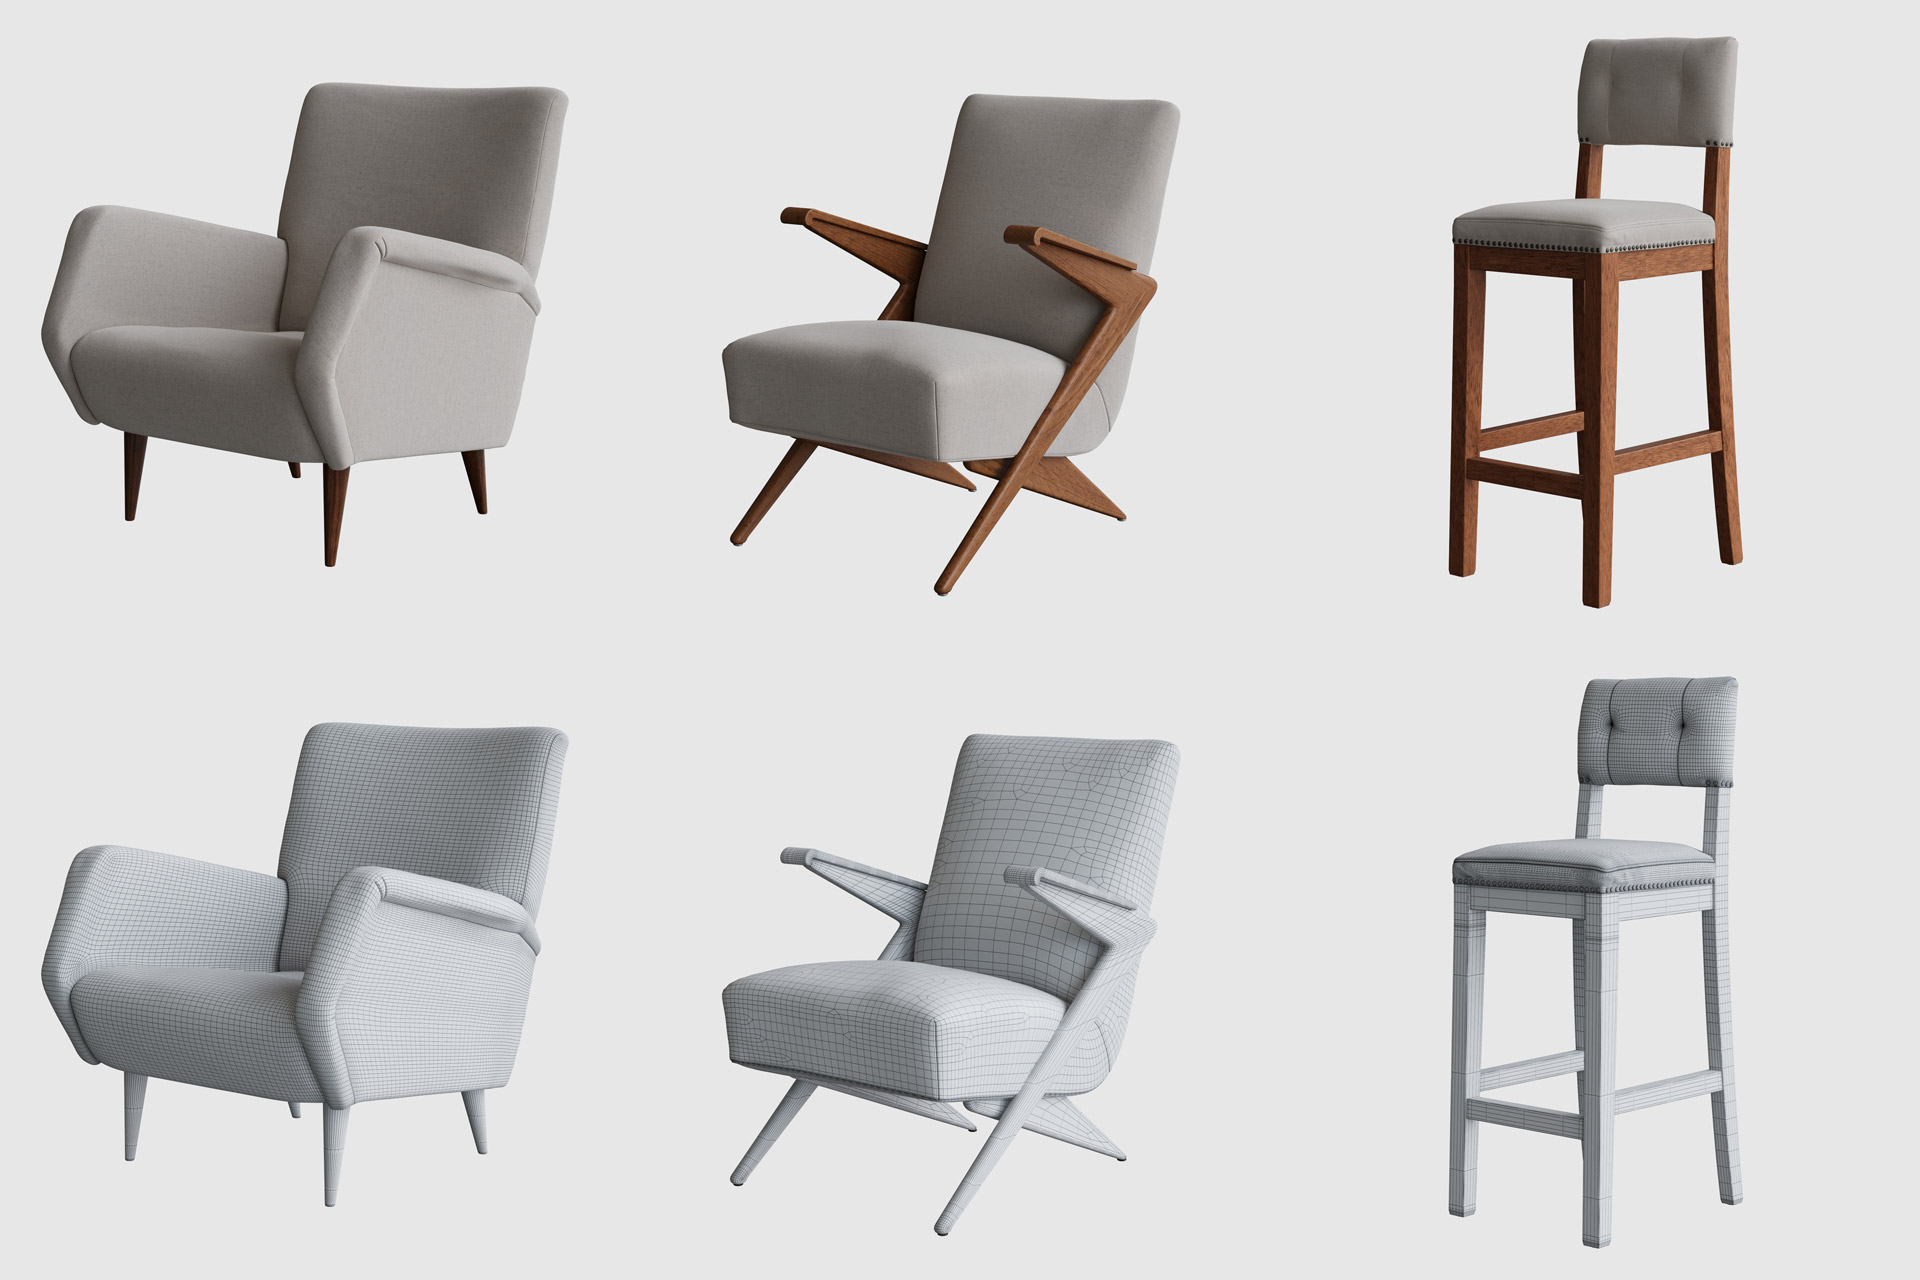
ASSET MODELING
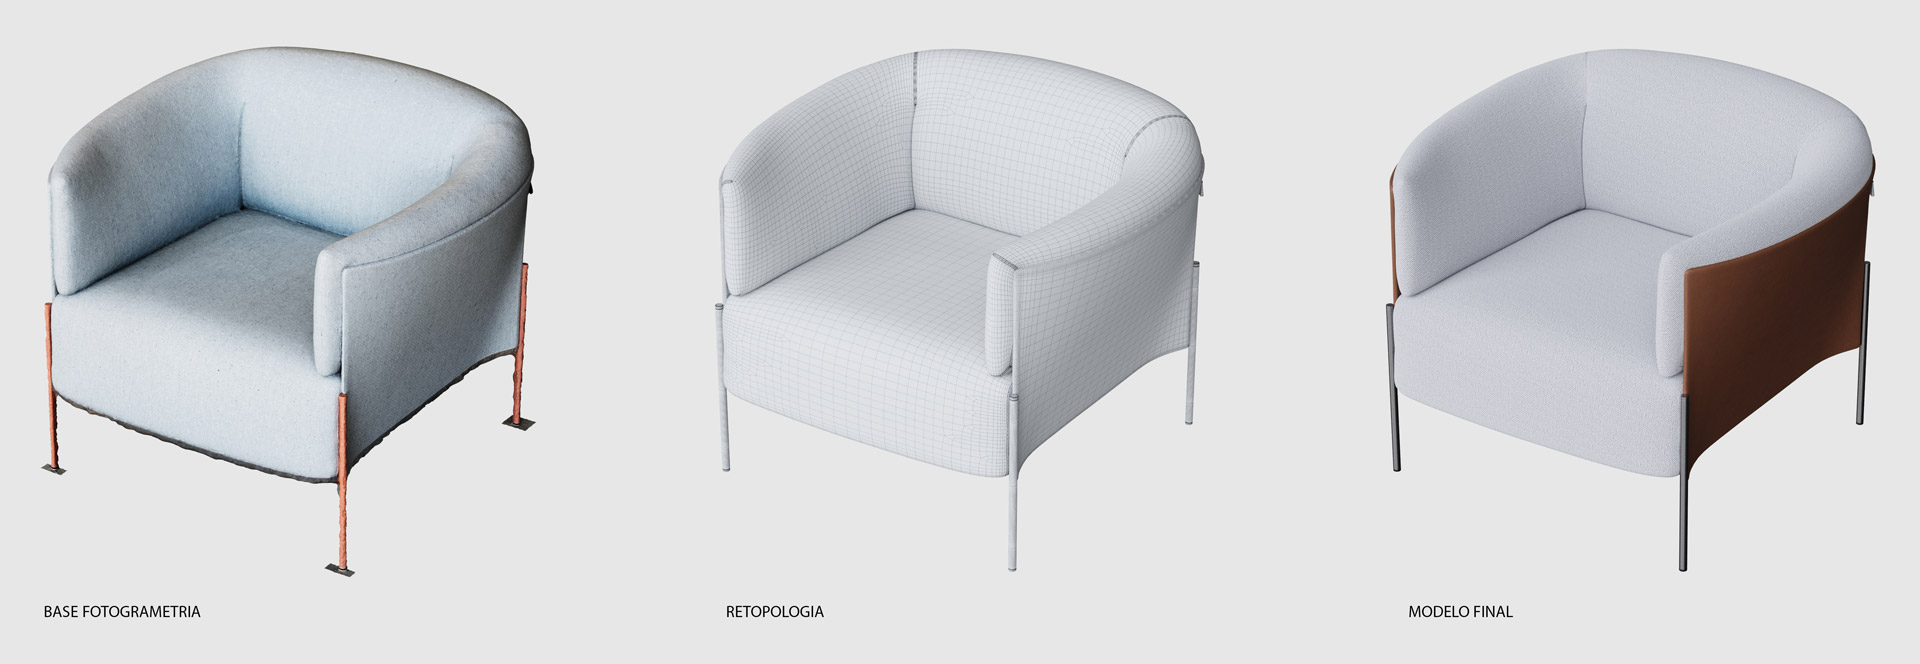
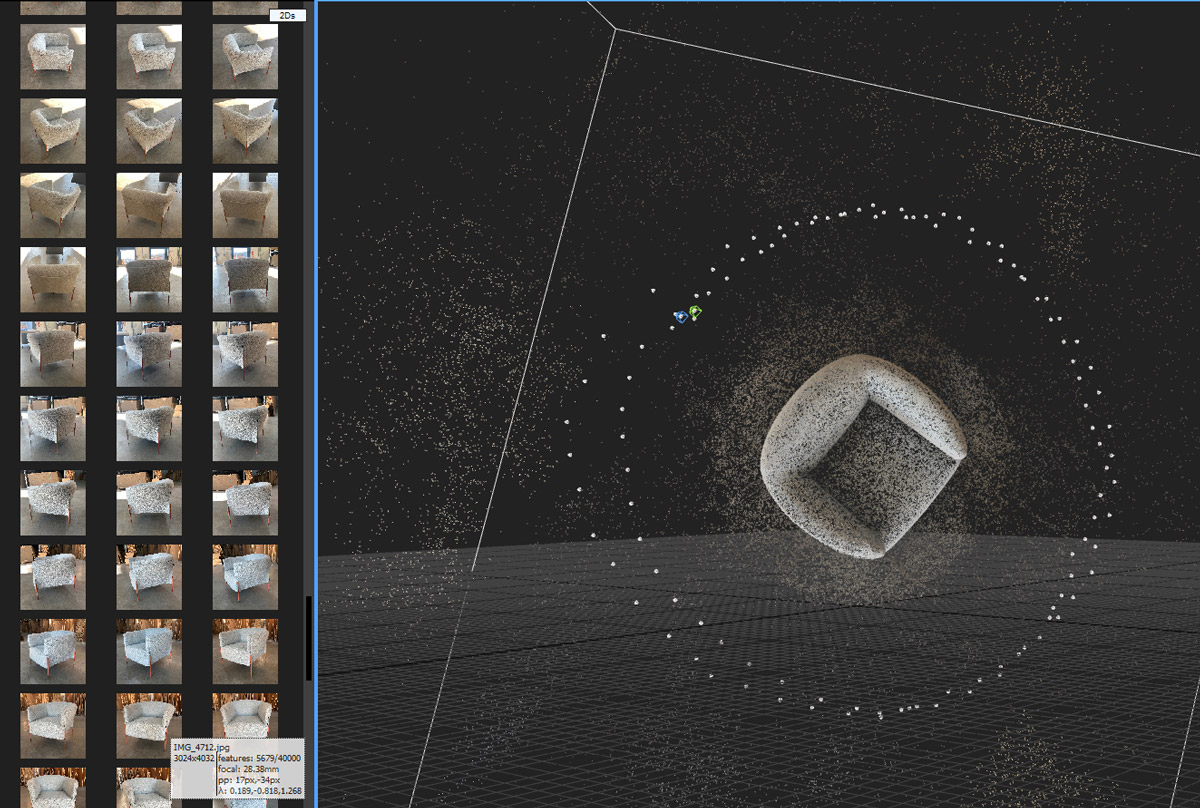
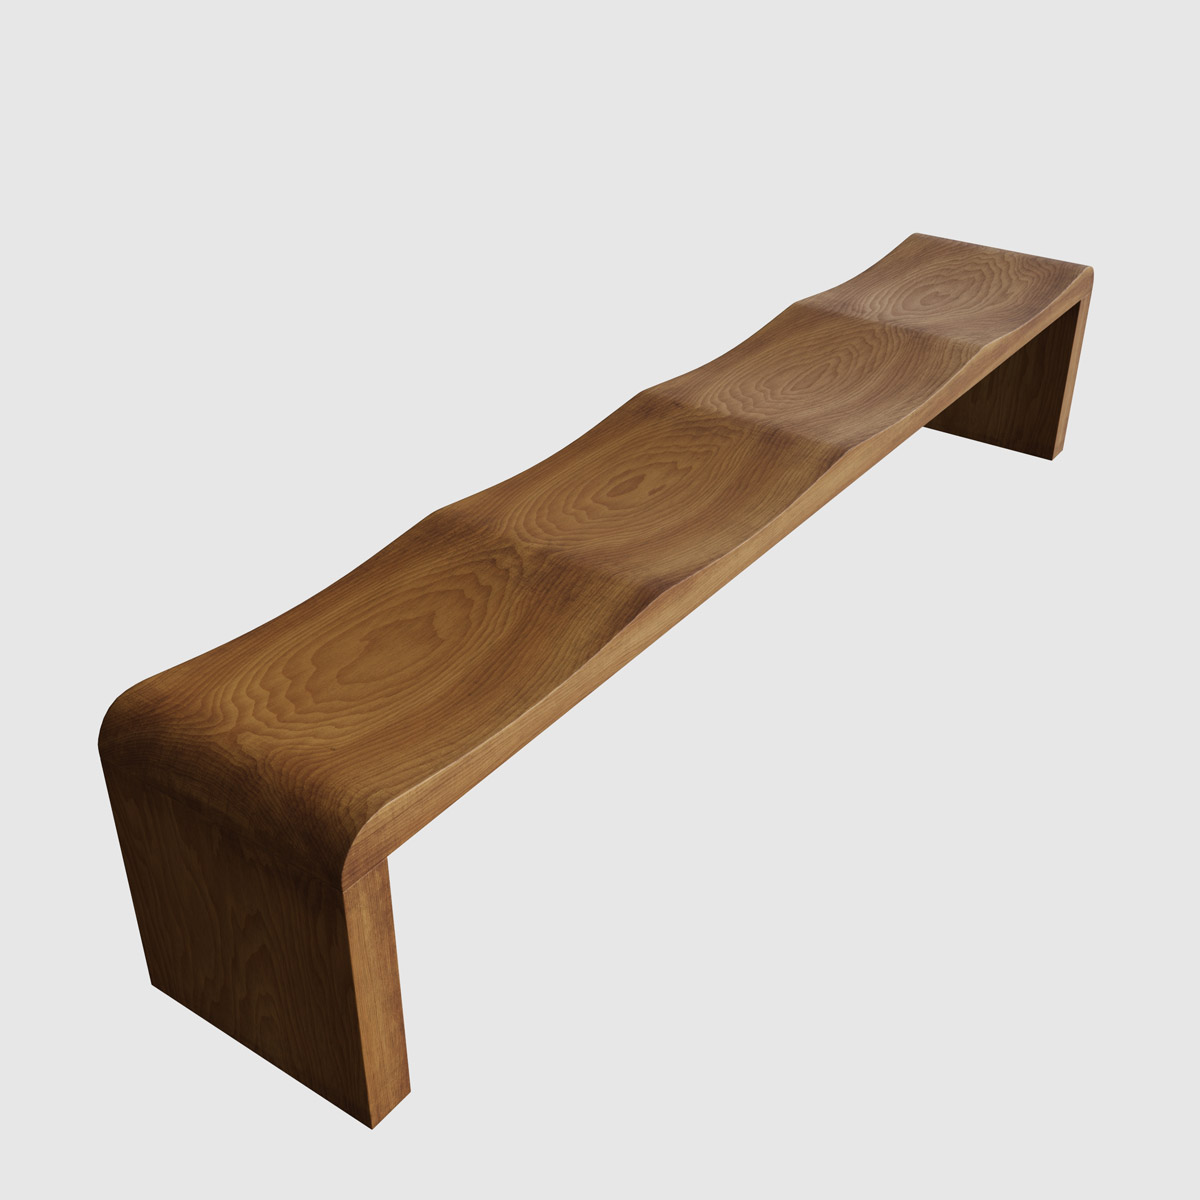
Being a personal project, the vast majority of props and assets are made by me as a practice. To model them I have exclusively used the 3dsmax modeling and mapping tools using traditional modeling techniques. There is nothing particularly interesting about them except for the armchairs and stools, which are modeled using a photogrammetry base.
The process consists of taking a large number of photographs around the object you want to scan. Process these photos using programs such as Reality Capture. These programs give you a geometry that corresponds to the object you have scanned, although these are complicated to use directly, especially in complex scenes. From here the process may vary depending on the programs you have and also personal preferences. In my case, the model is exported to Zbrush where I correct the orientation of the model and lower the number of polygons to make it more manageable within 3dsmax. The next step is to bring the optimized model into 3dsmax and using the retopology tools within the program generate a new model using the scan as a base. The retopology is all manual, this is quite laborious but the advantages are a very optimized and clean geometry, with control over the locations of the seams and the mapping coordinates. More information can be extracted from the base object with Normals and Color maps. If it is furniture, in most cases I prefer to skip this step since the material I am going to use will be scanned using photometric stereo. Although if the fabric of the object is very thin, such as beds, it is advisable to try to generate a normal map that helps add more detail to the object. Since the wrinkles are going to be too small to do it with geometry alone.
MATERIALS
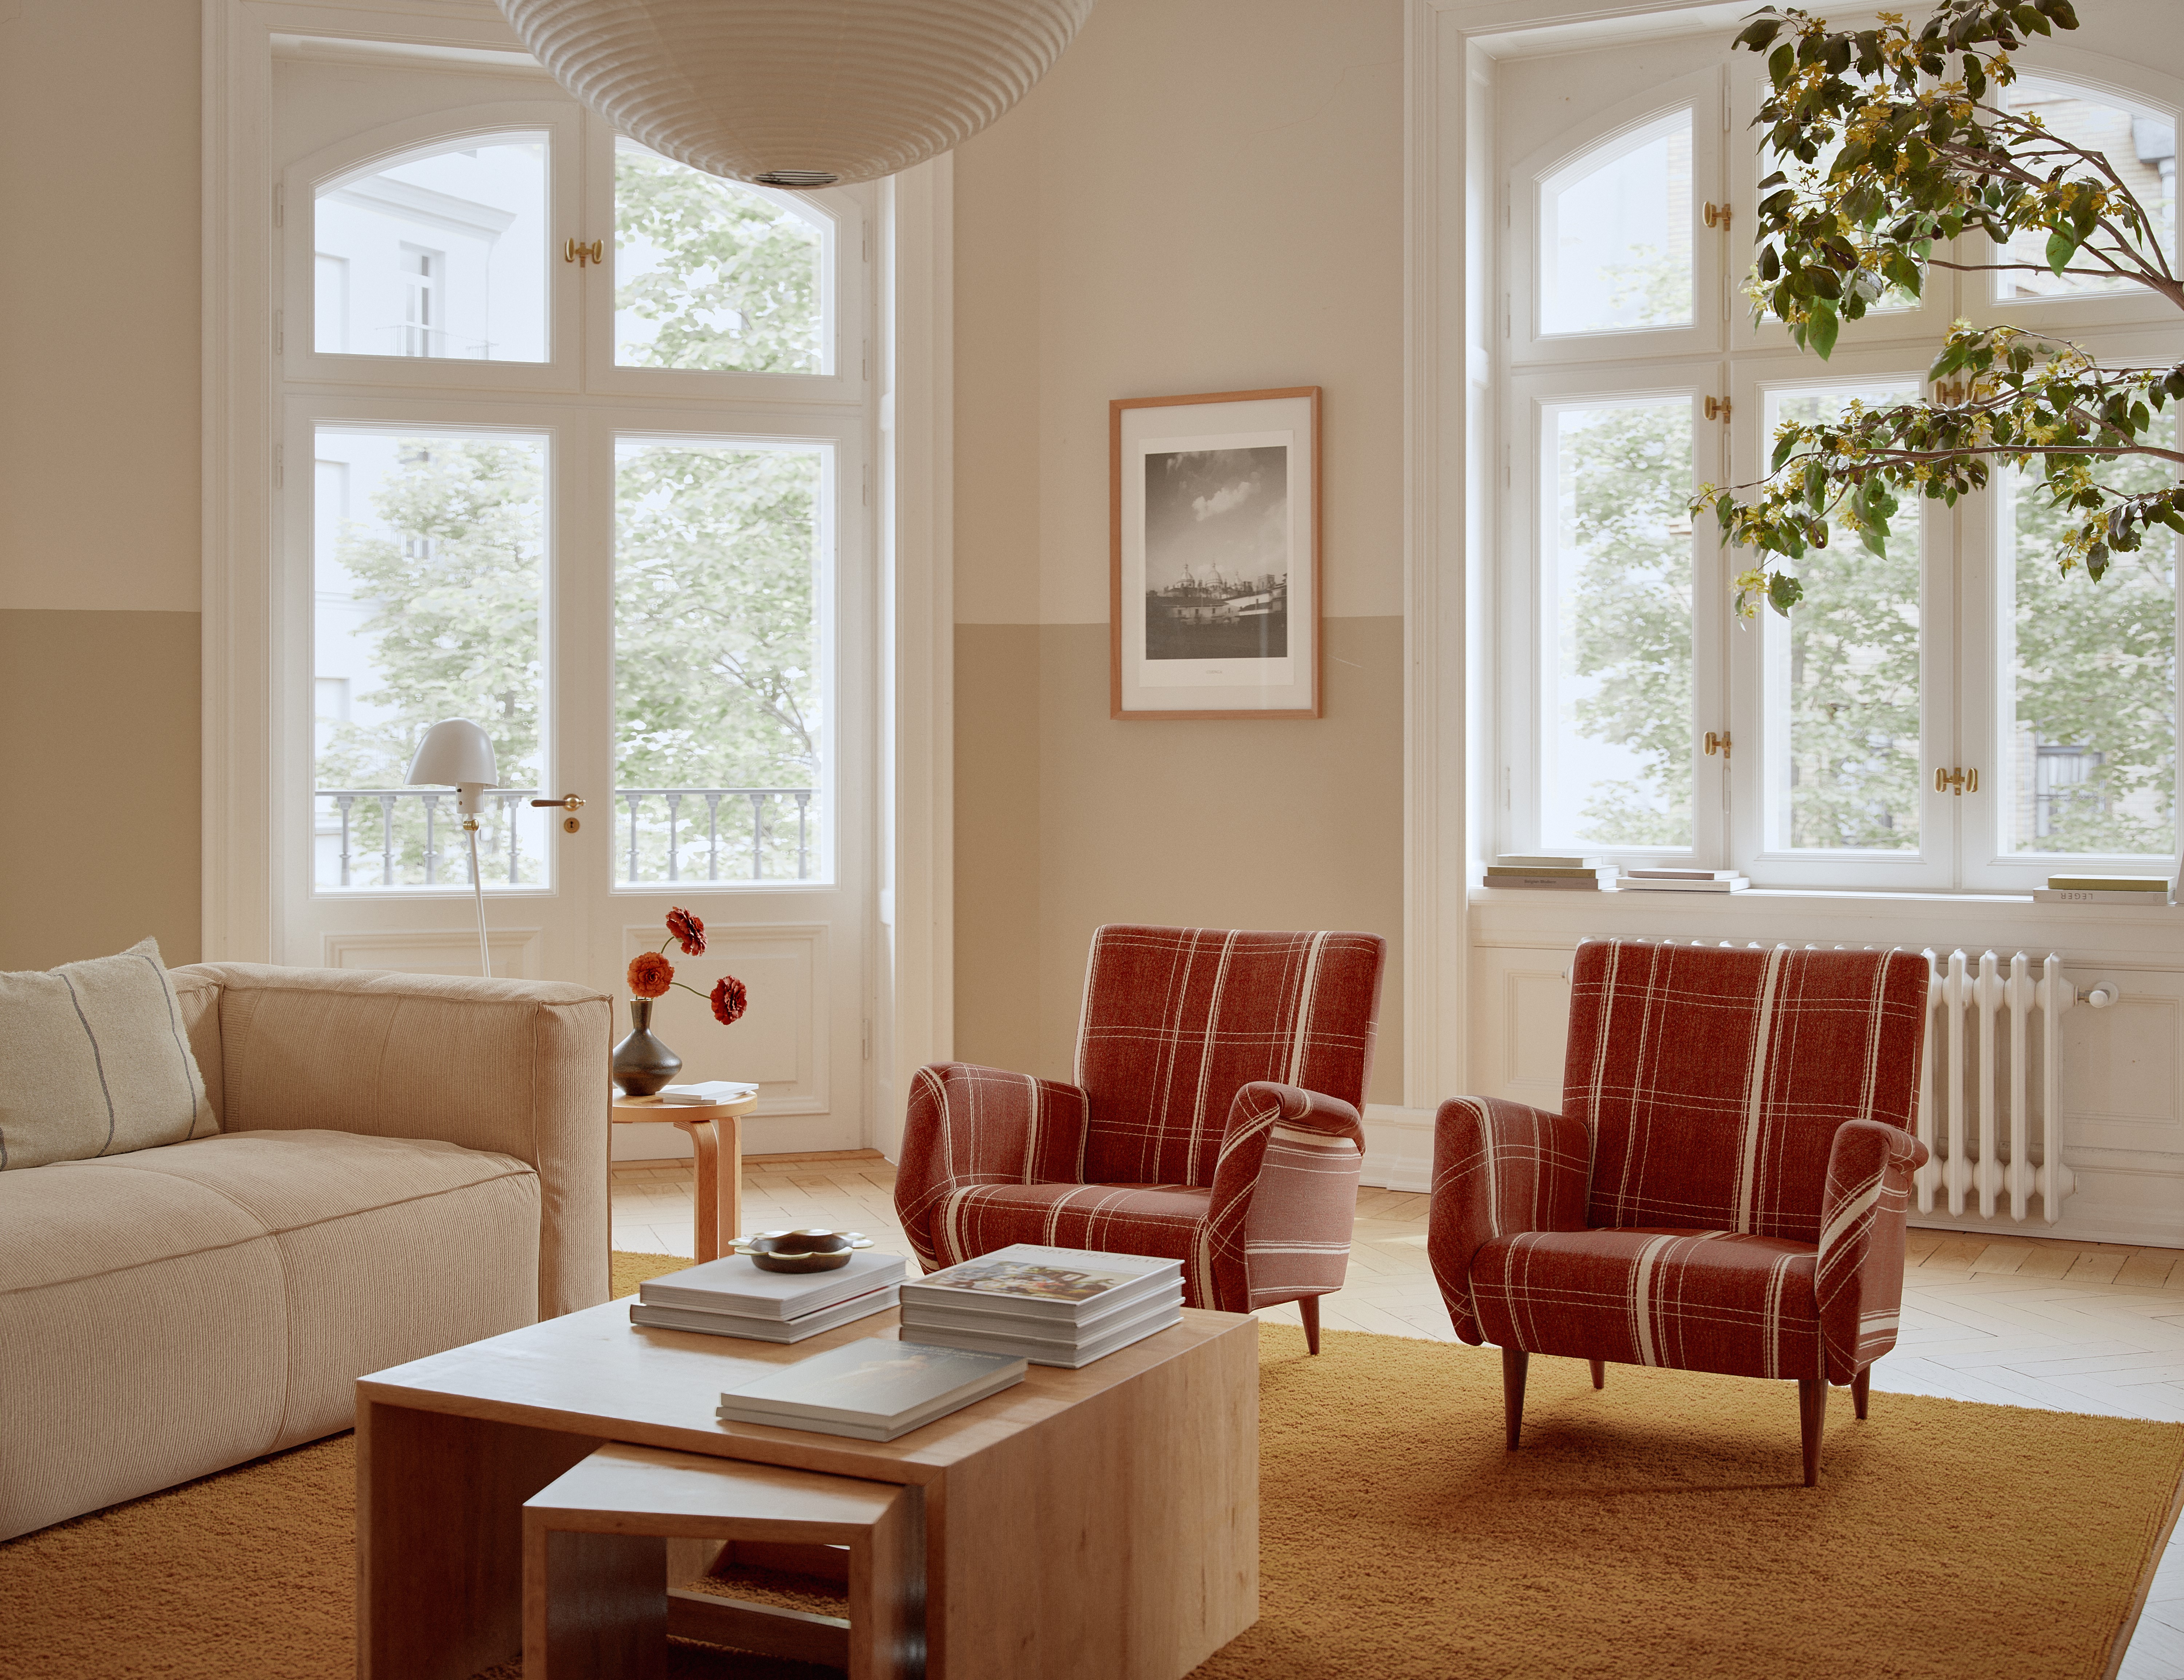
Over the years I have been generating my own library of materials and now I use these almost exclusively. Most materials are scanned with photometric stereo and therefore have more or less correct information on albedo, reflections and relief. If I do not have a specific material, I usually resort to online resources such as: megascans, materialsoftheworld, texturesupply, arroway, nevroc, textures.com, etc. These websites have textures with much better quality than those generated by me.
Photometric stereo is a technique for capturing information about a material based on the positioning of light. It is quite simple to execute although it has its limitations. Despite this, I think that it is the best way to generate normal maps with great detail, and if you know its limitations you can minimize them to the point that they do not pose a problem in most cases. Currently there are a large number of softwares that are capable of processing textures using this method: details capture, Substance Sampler, Shader map 4, etc.
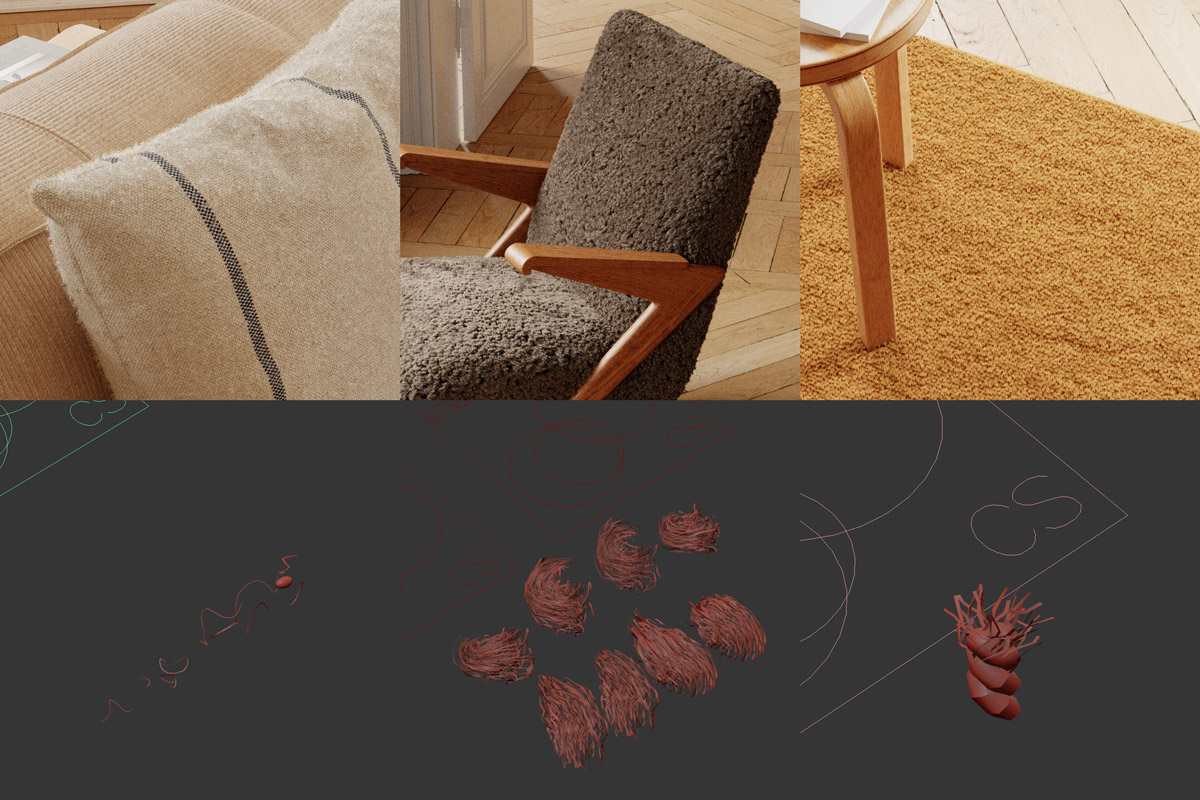
In addition to the imperfections present in the textures themselves, there are a large number of imperfections in the architectural elements and props. These have been achieved with crown decals or dirt maps exclusive to each object. Each object has a unique dirt texture for it since I don’t usually use procedural materials or Dirt or Ambient occlusion maps. Personally I think they don’t give good results unless they are very complete and I like to keep all my materials as simple in configuration as possible.

There are also various hair systems to accentuate this material on certain objects. The hair systems are all made with corona scatter and the fibers use a CoronaHairMaterial.
On the other hand, I have made some of the wooden elements using the Advanced wood material from 3dsmax as a texture to have correct grain behavior when the surfaces are very irregular.
LIGHTNING
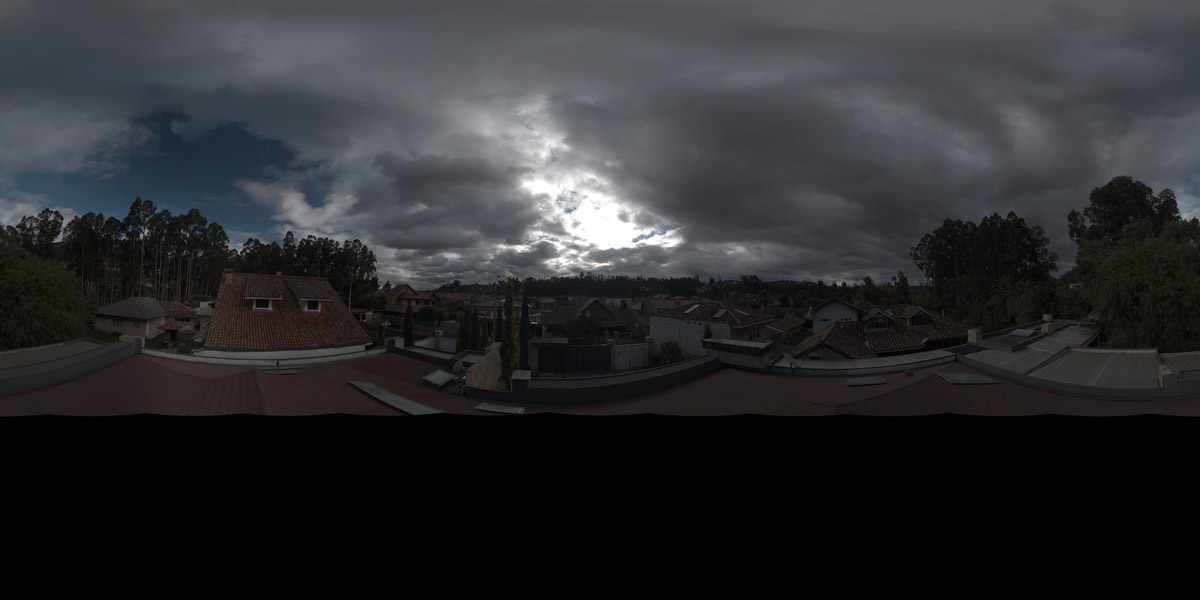
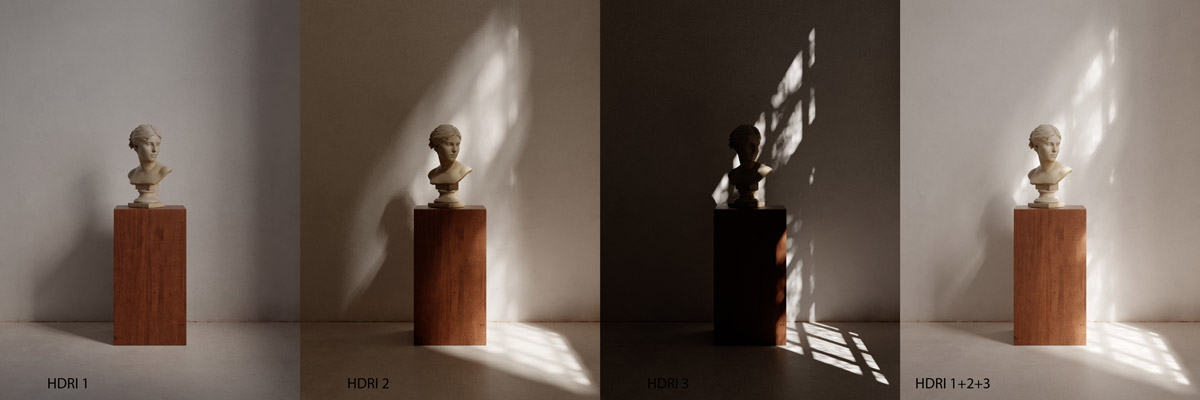
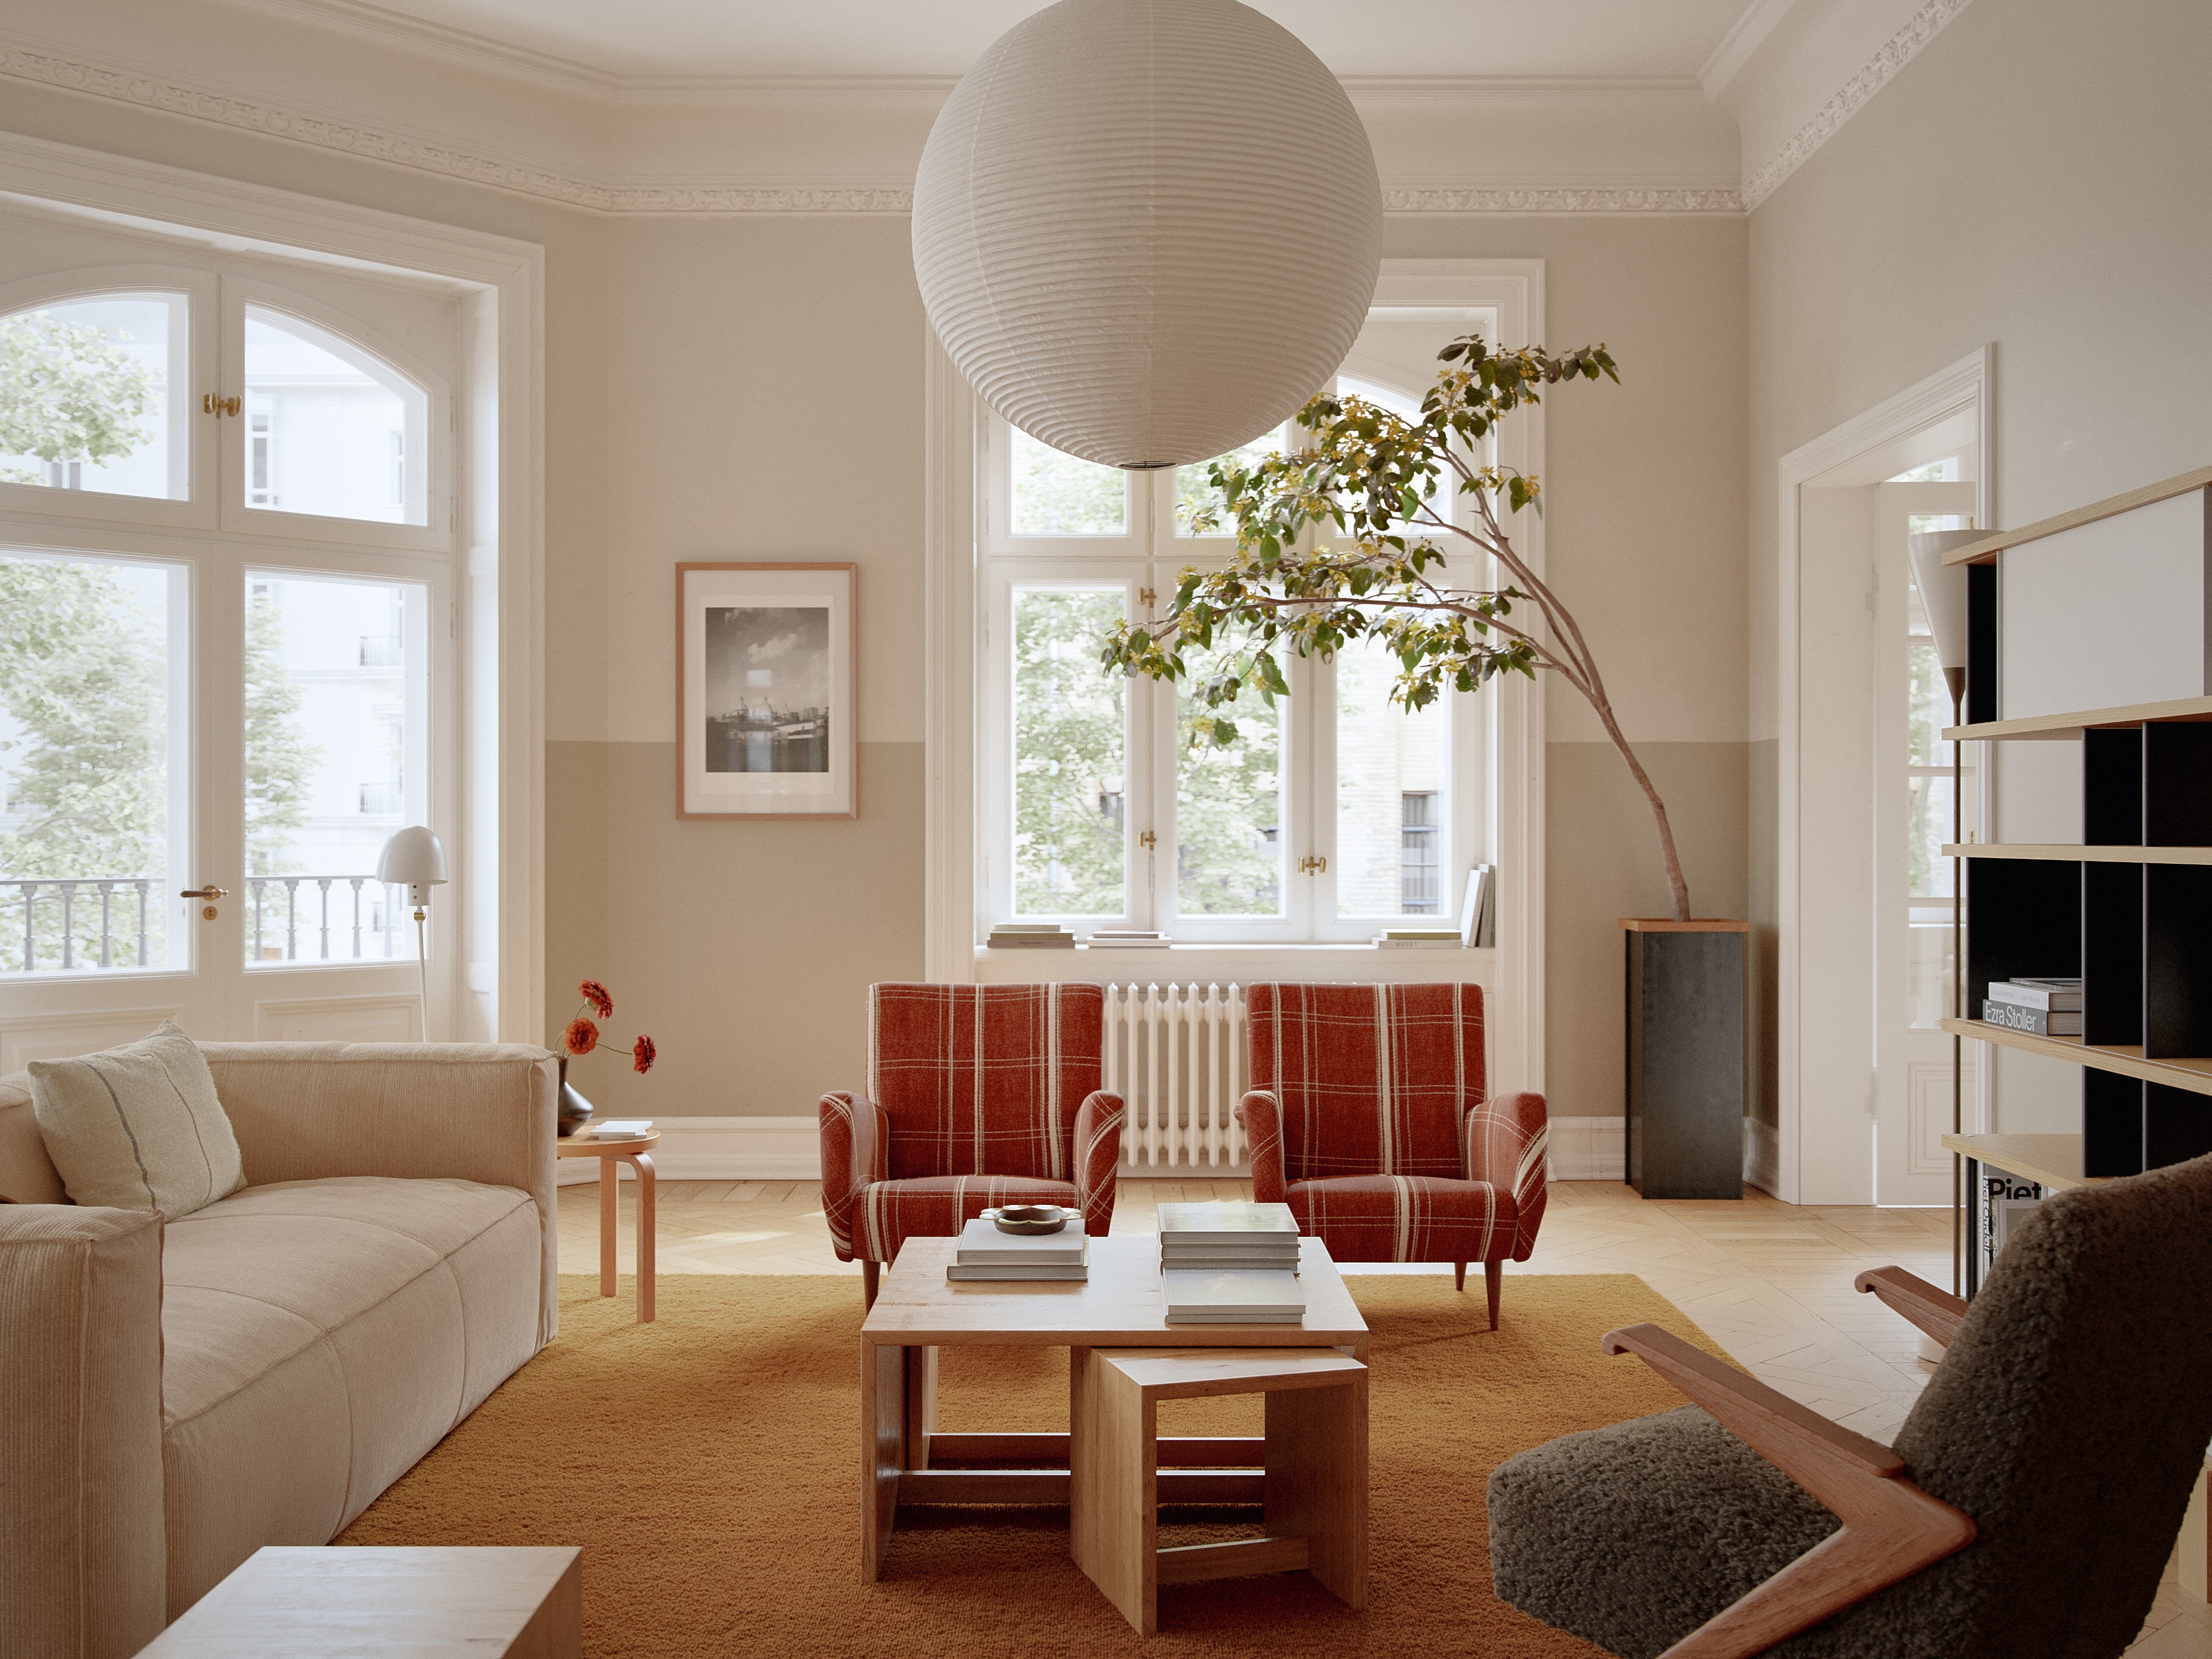
To illuminate the scenes I almost exclusively use HDRIs. In this case, the ones I have used are ones generated by me, but the same result can be obtained with any of the ones available online.
As a work methodology I usually load several HDRI’s into the lightmix, orient them as appropriate in each image and within lightmix control the intensities and tone of each one individually. In other cases and depending on the HDRI you can use it several times and control its behavior by adjusting the Bitmap Blur and a gamma correction.
This way of working gives me a lot of control and flexibility over the final result.
POST-PRODUCTION
Post-production begins in the virtual frame buffer. In my case, I have generated different LUTs of my own that work well for me and my way of working. My intention is not to have the final image directly in the VFB, but to start from a good base, to make the necessary adjustments in Photoshop.
In most cases I start editing by saving the render in 16-bit tiff. I don’t use layers or passes to edit. And the building is simply adjustments to curves, contrast, sharpness and some gradients to subtly correct the lighting. The particular parameters vary not only from project to project, but from image to image and therefore I do not consider it appropriate to detail them further.
CONCLUSION
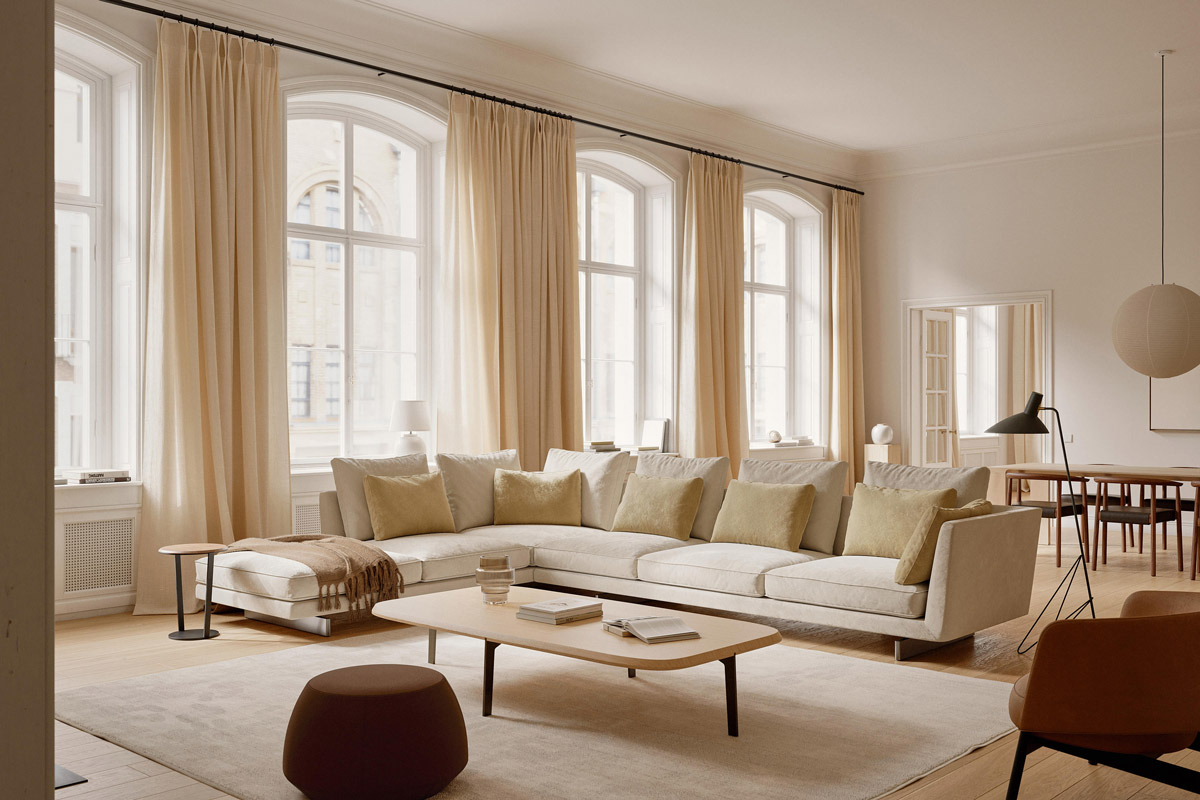
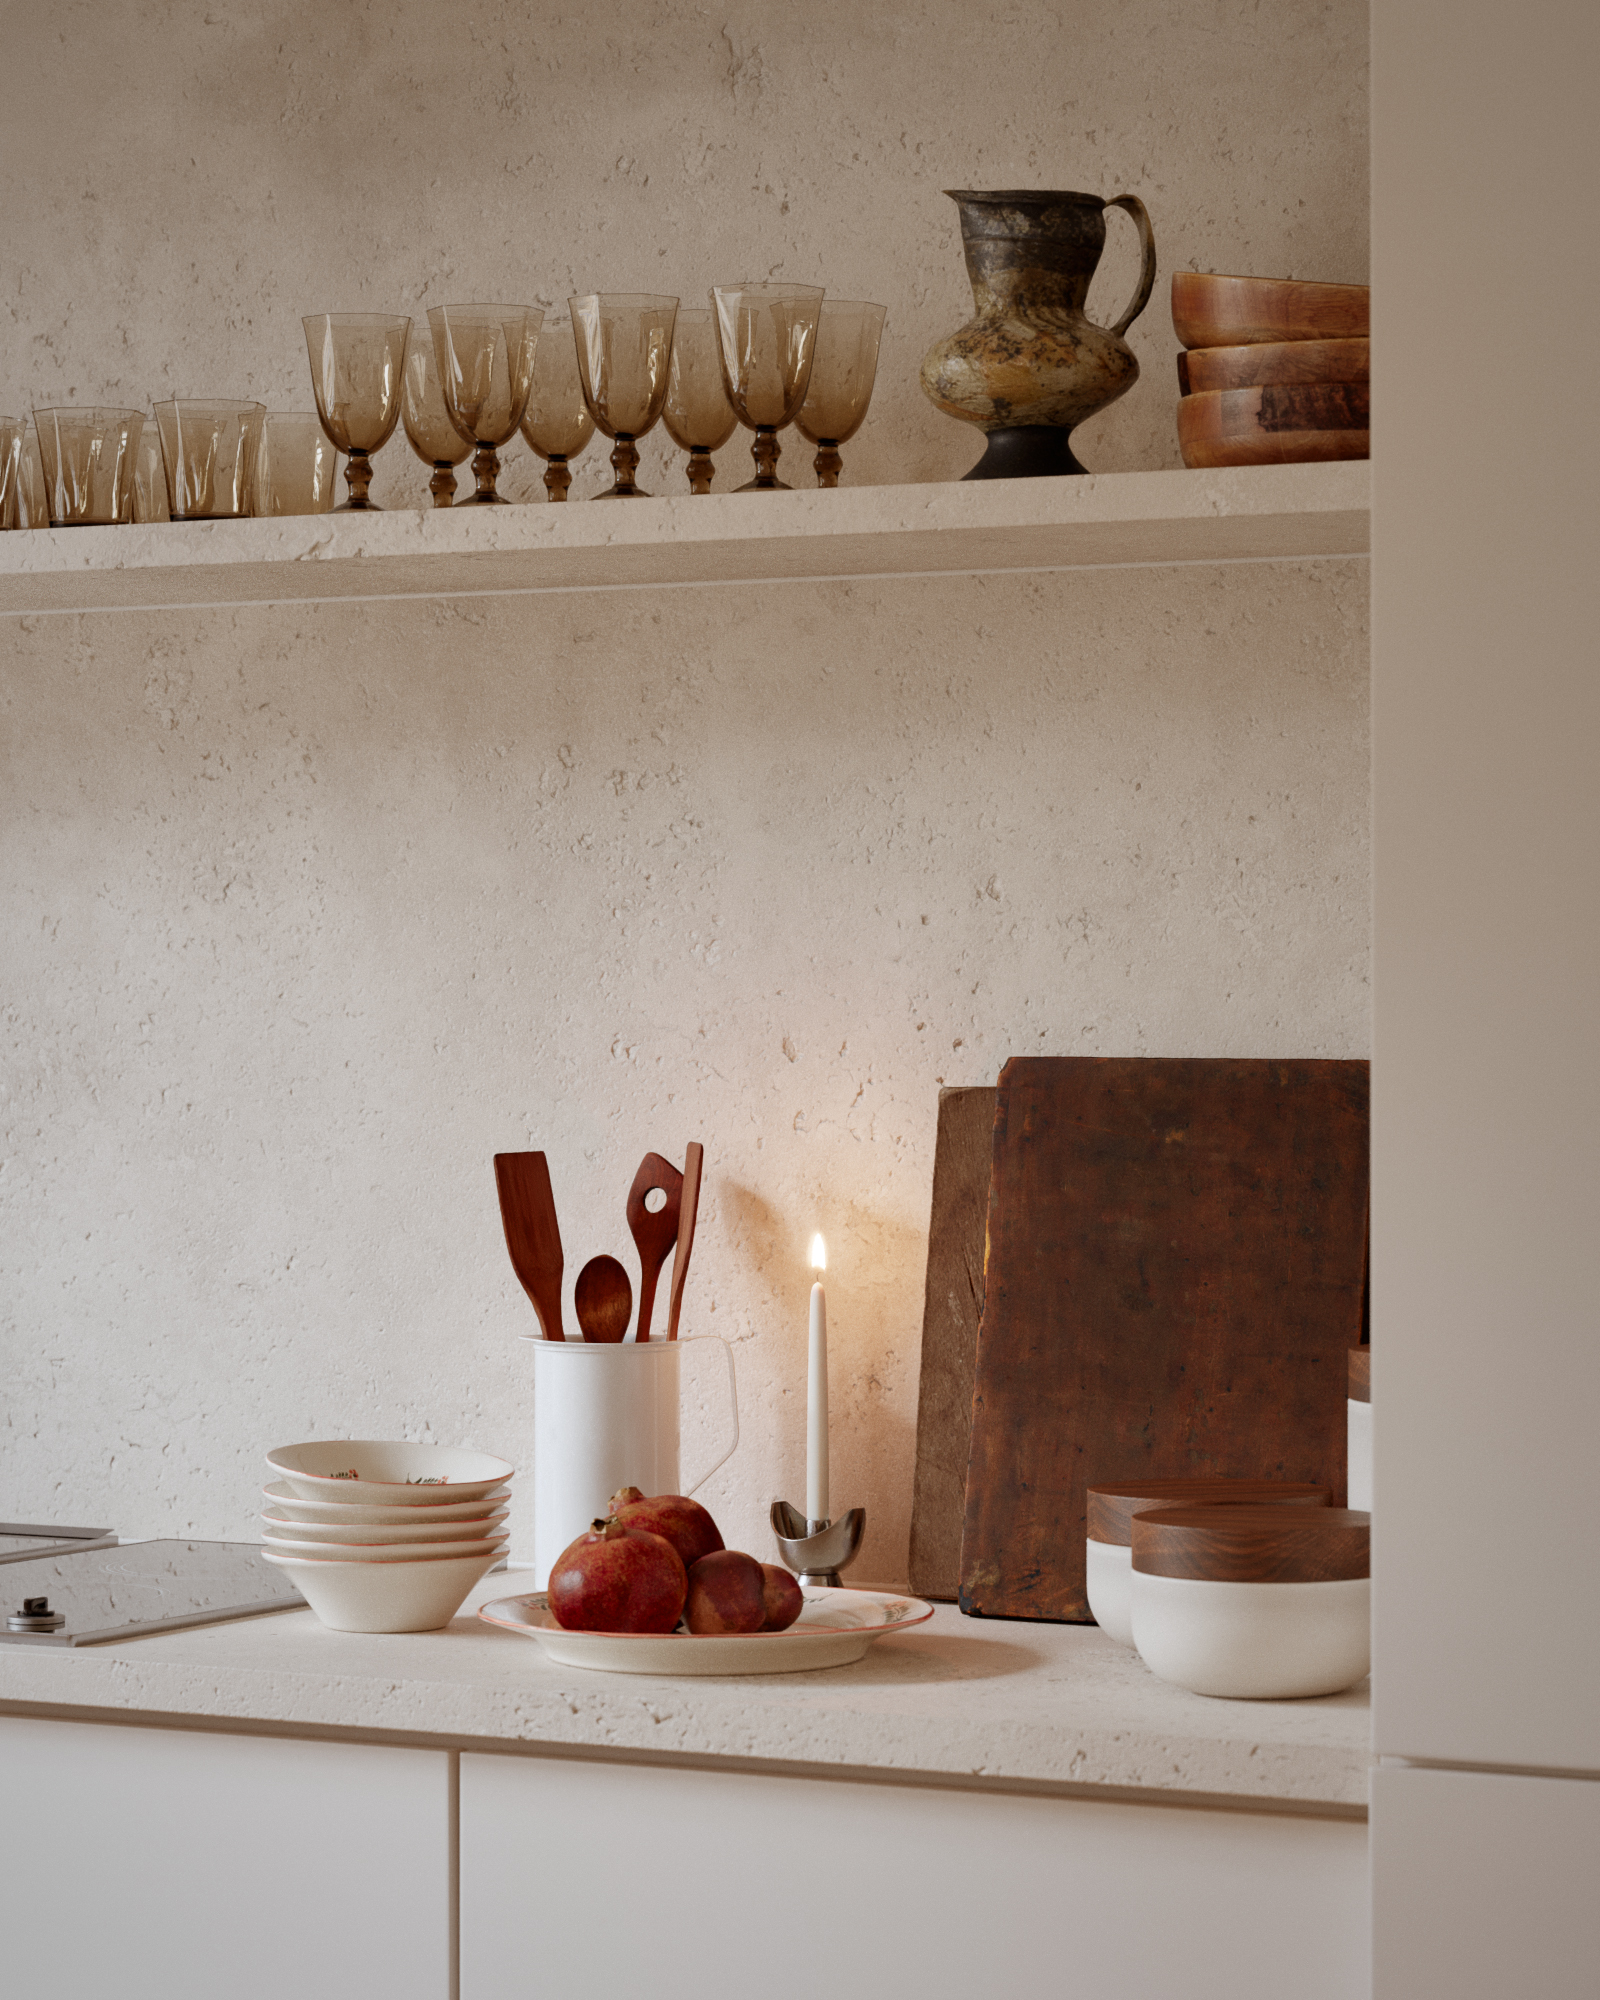
With this, my work methodology is completely exposed. I think that if something characterizes my work, it is the attention to small details. In the search for photorealism, attention to details is important, they give complexity and depth to the images, but it is also important not to lose sight of the objective of an image. . Photorealism in itself is not important, just because it is something photorealistic it is not going to be interesting, composition, mood, decoration, architecture… All these elements make an image and its realism is a means to express them better.
I hope you have enjoyed this making of, if you are interested in learning more about Gabriel Fabra’s work, you can visit the following links: