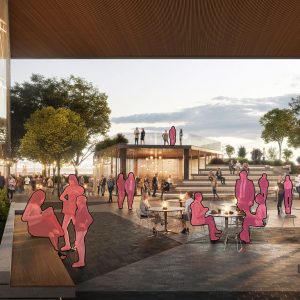
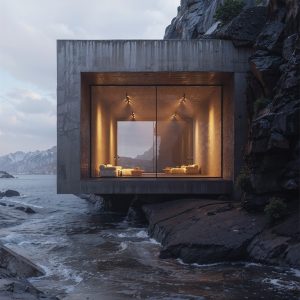
In this tutorial, we will explore step by step how to raise the level of realism and other key aspects in our Architectural Visualization renders through the use of Artificial Intelligence. We will dive into the process of working with Stable Diffusion, an open source generative algorithm that we can install for free on our computer. This algorithm is used by prominent tools like Magnific AI and Krea AI.
We will start by understanding how this algorithm works and review the process of installing Stable Diffusion on our machine, which we have already covered in detail in this tutorial. Then, we’ll delve into use cases where we’ll enhance Arch-Viz images, focusing on increasing detail and resolution or expanding the frame. Additionally, we will explore the current limitations of these tools, especially with regard to spatial consistency, a crucial aspect in animations or multi-camera projects.
WHAT ARE YOU GOING TO LEARN WITH THIS TUTORIAL?
How to increase the realism of your renders using Artificial Intelligence
- Summary of the current status of the tools. Advances and limitations
- Stable Diffusion as the “mother” algorithm of different applications such as Magnific AI and Krea AI
- Stable Diffusion Installation Review
- Using Automatic 1111 as a user interface
- Configuring parameters and types of positive and negative Prompts
- Selection and download of models from CIVITAI
- Control Net as an extension to better control the results
- ControlNet Parameters Explained
- Controlling output resolution using the Control NET extension, Tiled Diffusion with Tiled VAE
- Testing image enhancements controlled parameters
- Generative Fill combined with Stable Diffusion
*This video is recorded in Spanish, you can activate YouTube’s automatic subtitles to follow it in other languages


