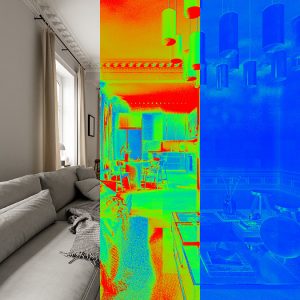
In this video, we’ll walk you through step-by-step instructions on how to create scenes with much richer, more interesting, and aesthetic lighting using multiple HDRIs combined within 3ds Max and V-Ray.
We’ll learn different advanced lighting strategies to give your renders a more natural, cinematic, and elegant feel, and how to adapt your workflow to your creative needs.
You can purchase the HDRi skies used in this video in our catalog. You can also find our LUT pack here.
If you’re interested in delving deeper into HDRi lighting, you can find a wealth of technical and practical information on this topic on our channel. We recommend the following tutorials:
HDRI LIGHTING – 3D COLLECTIVE REAL LIGHT VOL 3
LIGHTING WITH HDRI IN CORONA RENDERER
LIGHTING WITH HDRI – 3D COLLECTIVE REAL LIGHT VOL 2
HDRI LIGHTING IN V-RAY TIPS AND TRICKS
LIGHTING WITH HDRI STUDIO LIGHTS IN V-RAY 5
WHAT WILL YOU LEARN WITH THIS TUTORIAL?
Advanced lighting techniques with HDRi.
- Use different versions of the same HDRI with different levels of blur to control the hardness and softness of shadows.
- Combine these maps into a single dome using Composite to achieve fine control over the contribution of each.
- Add custom sliders with Attribute Holder to control all lighting from a single location.
- Maintain consistent exposure by splitting intensities and adjust tone mapping correctly with V-Ray’s new system.
*This video has been recorded in spanish. Automatic subtitles are avalible.


